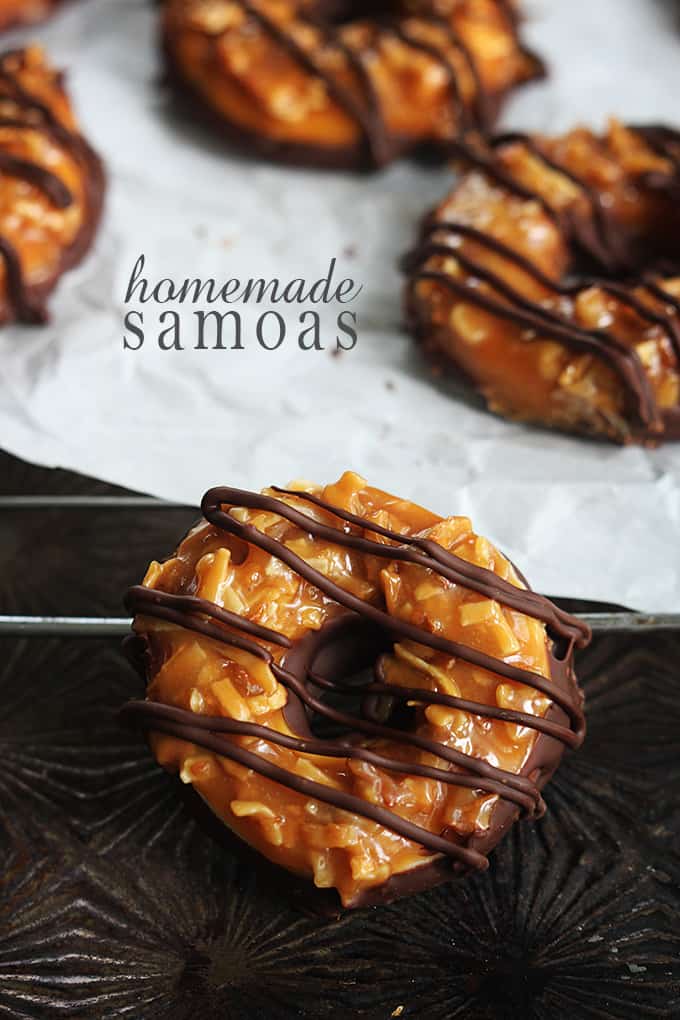
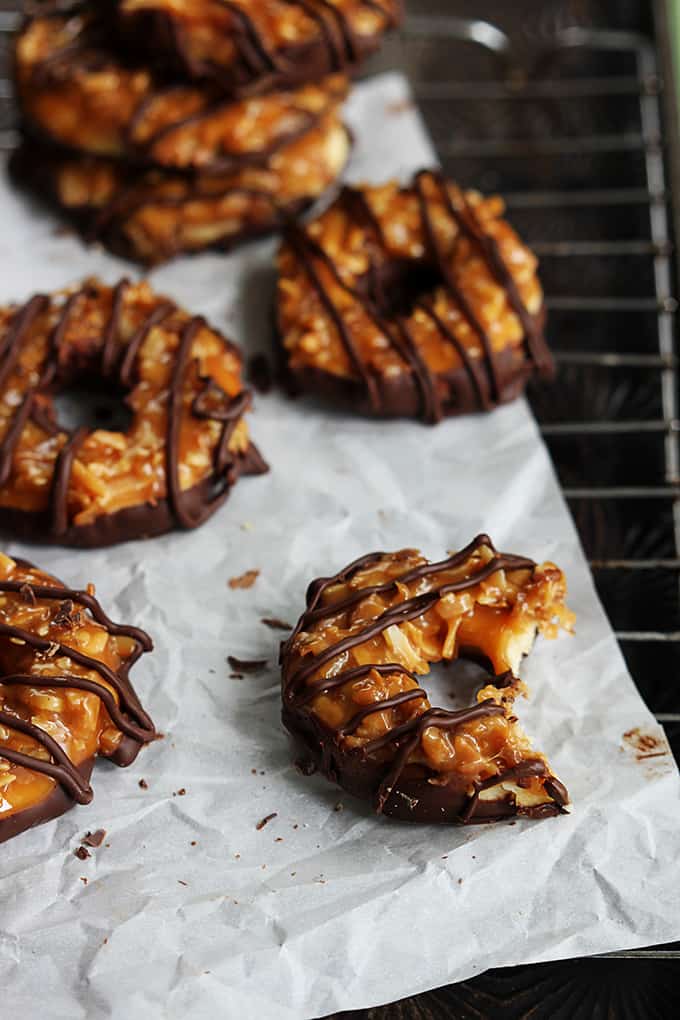
Homemade Samoas (aka: the caramel + coconut girl scout cookies)
This post may contain affiliate links. Please read our disclosure policy.
Whip up a batch of your favorite coconut and caramel Samoas girl scout cookies at home!! Even BETTER than the originals!
Calling all cookie lovers to try my Salted Caramel Stuffed Double Chocolate Cookies, German Chocolate Cookie Balls, and Salted Caramel Chocolate Thumbprint Cookies next!
Samoas are by far my absolute favorite girl scout cookie. Like, without a doubt. I know there are a lot of Thin Mint lovers out there, and I can respect that chocolate-mint combo, sometimes you just gotta have it. But for me, Samoas are hands down the must delicious little round pieces of perfection on the entire planet.
It’s a match made in heaven. Me + caramel + coconut + chocolate.
I’ve been dying to make these at home for months. Why I haven’t before now is, well, dumb. . . to put it nicely. I guess I was being lazy? But there was no need for laziness. These cookies are ultra easy to make. Which is good for impatient, 20 pairs of sweats owning people like myself.
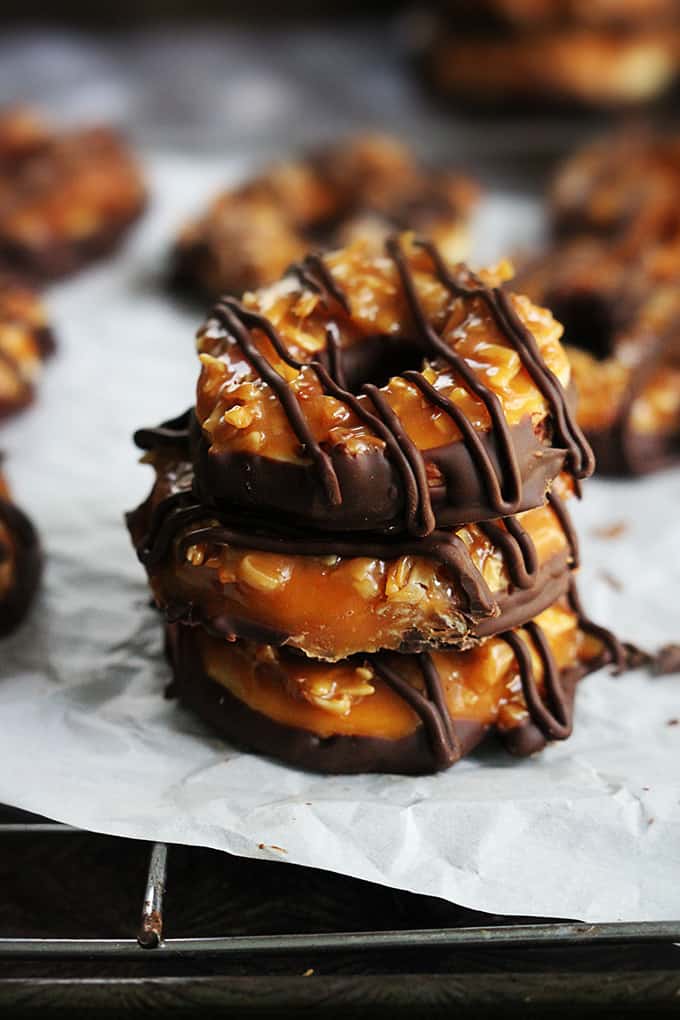
And I wondered if I’d catch flack for saying this but, ah what the heck – I’ve gotta be honest: these are better than the originals. Unspeakable! No but really, it’s true. The caramel stays soft just like it should, the cookies is buttery and vanilla-y and totally delicious, the coconut-caramel topping is piled high to heaven, and the chocolate is extra-rich. Ohhhh yeah baby. But beware: upping the richness in these cuties just makes them even more addictive. I just made them yesterday and I have 3 left. Mind you there are only two of us living in this house. And my husband doesn’t like coconut soooo…..
yeah.
More Recipes to Try
- Samoa Bars – layers of caramel, chocolate, and coconut in every irresistible bite.
- Samoas Cupcakes – pure caramel-chocolate-coconut bliss in cupcake form.
- Samoa S’mores – sticky, gooey, and dangerously addictive campfire style treats.
When you make this recipe, snap a photo and tag me on social – I love connecting with you and seeing what you’re up to in the kitchen!

Homemade Samoas (aka the caramel + coconut girl scout cookies)
Ingredients
- ½ cup butter, softened
- ⅓ cup sugar
- 1 ¼ cup flour
- ⅓ teaspoon baking powder
- ¼ teaspoon salt
- 1 tablespoon cold milk or water
- ½ teaspoon vanilla
Topping
- 1 ½ cups coconut flakes
- 2 cups caramels, unwrapped
- 3 tablespoons heavy cream
- ½ teaspoon salt
- 1 teaspoon vanilla
- 1 ½ cups semi sweet chocolate chips
Instructions
- To prepare the cookies, whisk together flour, baking powder, and salt and set aside. Mix together butter and sugar in a separate bowl until fluffy. Add flour and mix with until fine crumbs form. Add milk and vanilla and continue to mix until dough comes together. Flatten the dough slightly, wrap it in plastic wrap, and chill for 1 hour OR freeze for 20 minutes.
- After dough has chilled, roll it out on a flat well-floured surface to about 1/4 inch thickness. (If the dough is too sticky, sprinkle a couple tablespoons of flour over the dough and knead it a few times with your hands. roll it back into a 1/4 inch thick disc.)
- Use a round cookie cutter to cut as many cookies as you can from the dough. Cut the centers out with a smaller cookie cutter. (*see note for alternative method) Place each cookie onto a greased baking sheet. Press the remaining dough into a ball, roll into a 1/4 inch disc again and repeat cutting process. Do this again until you have used as much of the dough as you can.
- Bake cookies at 350 for 10-12 minutes until cookies look “dry” and very slightly golden in color. Place cookies (on a baking sheet) in the fridge or freezer.
- In a medium pan over medium heat, continually stir coconut flakes until lightly browned (about 3-5 minutes). Set toasted coconut flakes aside.
- In a microwave safe bowl, combine caramels and heavy cream and microwave on high 2 minutes. Stir, and return to microwave for 20 seconds at a time, stirring between each, until caramel is fully melted and smooth. Stir in salt and vanilla.
- Spread about 1-2 teaspoons of caramel on top of each shortbread cookie. Chill for 2-3 minutes to let the caramel set.
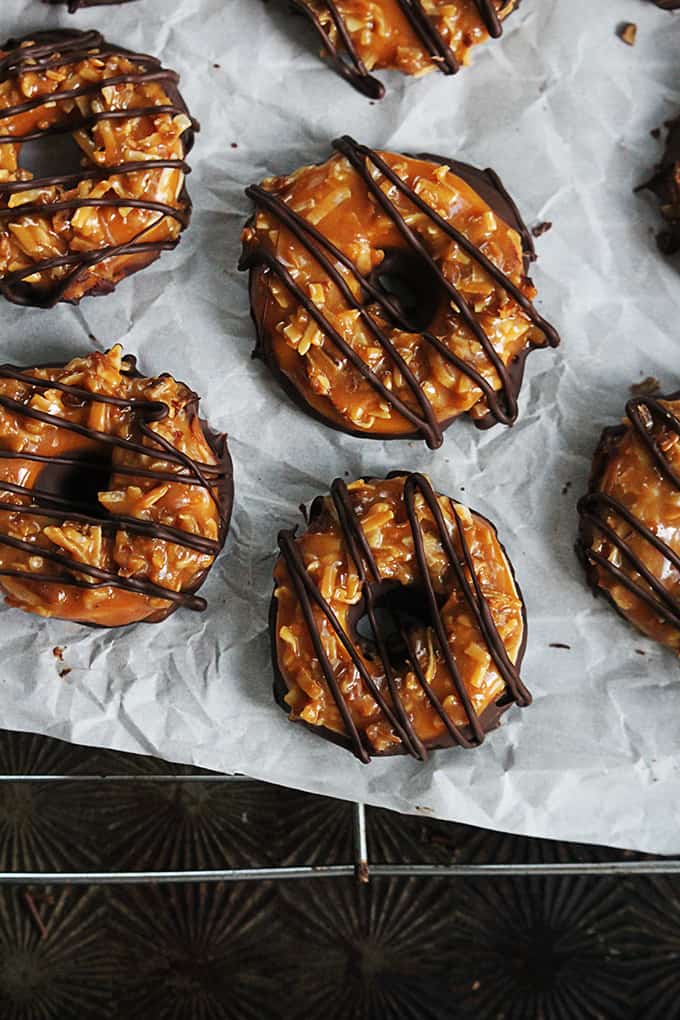
- Stir coconut flakes into remaining caramel. Spread coconut-caramel mixture onto each cookie. Chill again while you prepare the chocolate.
- Add chocolate chips to a microwave safe bowl. Microwave on medium power for 2 minutes. Stir, then return to microwave for 20 seconds at a time, stirring between each, until fully melted and smooth.
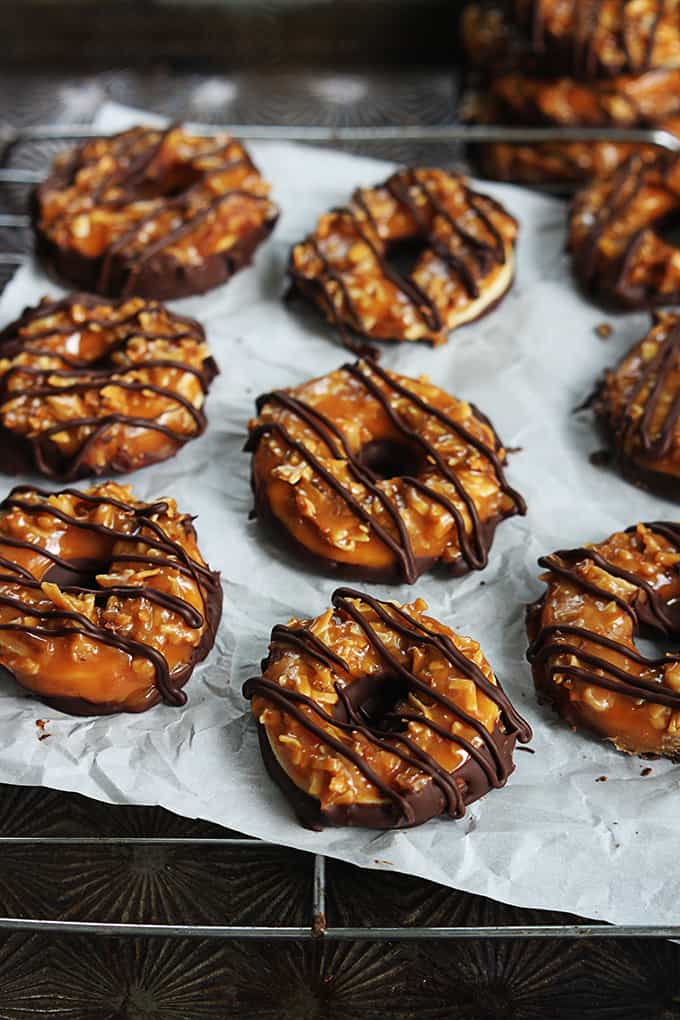
- Carefully dip each cookie in the melted chocolate so that the bottom is well-coated. After all cookies have been dipped, drizzle remaining chocolate over the cookies.
- Store in an airtight container or ziplock bag chilled or at room temperature up to 1 week.
Notes
Nutrition
Nutrition information is automatically calculated, so should only be used as an approximation.
Recipe adapted from Just A Taste —> p.s. this link will take you to some really awesome step by step photos in case you need them!


I put the dough in the freezer for 20 minutes instead of in the fridge for an hour and came really crumbly and I couldn’t roll it with a rolling pin at all. It just crumbled and broke into pieces. I let it thaw for a few minutes until it was soft and then I rolled it out. I followed the whole recipe step by step so I’m not sure what went wrong.
Am I able to make the dough the day before and keep it in the refrigerator over night?
Yes, you can! Another review has said this “These came out great. I made the dough a few days before and refrigerated so it wouldn’t be as much work the day of. The circle shape adds to the authenticity of it, but i used small cookie cutters and had star and heart cookies. I also found that the cookie was much better the next day. It tasted even better and a lot more like the original cookie. 🙂”
Did you use sweetened or unsweetened coconut?
Sweetened 🙂
How do you make them look pretty? Like how do you spread the caramel so it looks nice?
These are excellent. But, I recommend amending the recipe to specify “soft” caramel candies. being a rather novice baker i MADE A ROOKIE MISTAKE AND BOUGHT WERTHER’S HARD CARAMEL CANDIES TO MELT DOWN. i can see others with less expereince making a similar error. ALSO, FOR THE CHOCOLATE DIP – I FOUND THE TASTE OF ONLY 100% SEMISWEET CHOCOLATE CHIPS A BIT BITTER. SO I SUBSTITUTED 1/2 MILD CHOCOLATE CHIPS, AND ADDED A LITTLE MILK – 1 TBSP TO GET THE RIGHT CONSISTENCY (JUST PERSONAL TASTE PREFERENCE.) i really appreciate all the wonderful recipes on this site. thank you!
Thanks for your input, Mary!
Hi Tiffany, thank you fOr the recipe. I just wanted tO ask you about the CARAMELS. The bag of caramels i bought seem quite hard. ( not hard candy, just not squishable) Since they have to be melted anyway, will it matter?
Thank yoU
Hi Becky- I think they will turn out alright!! I can’t say for sure tho!
I want to make these ahead of time – do you think they will freeze well?
Hi Nicole- I haven’t done that with this particular recipe but I definitely think it would work!!