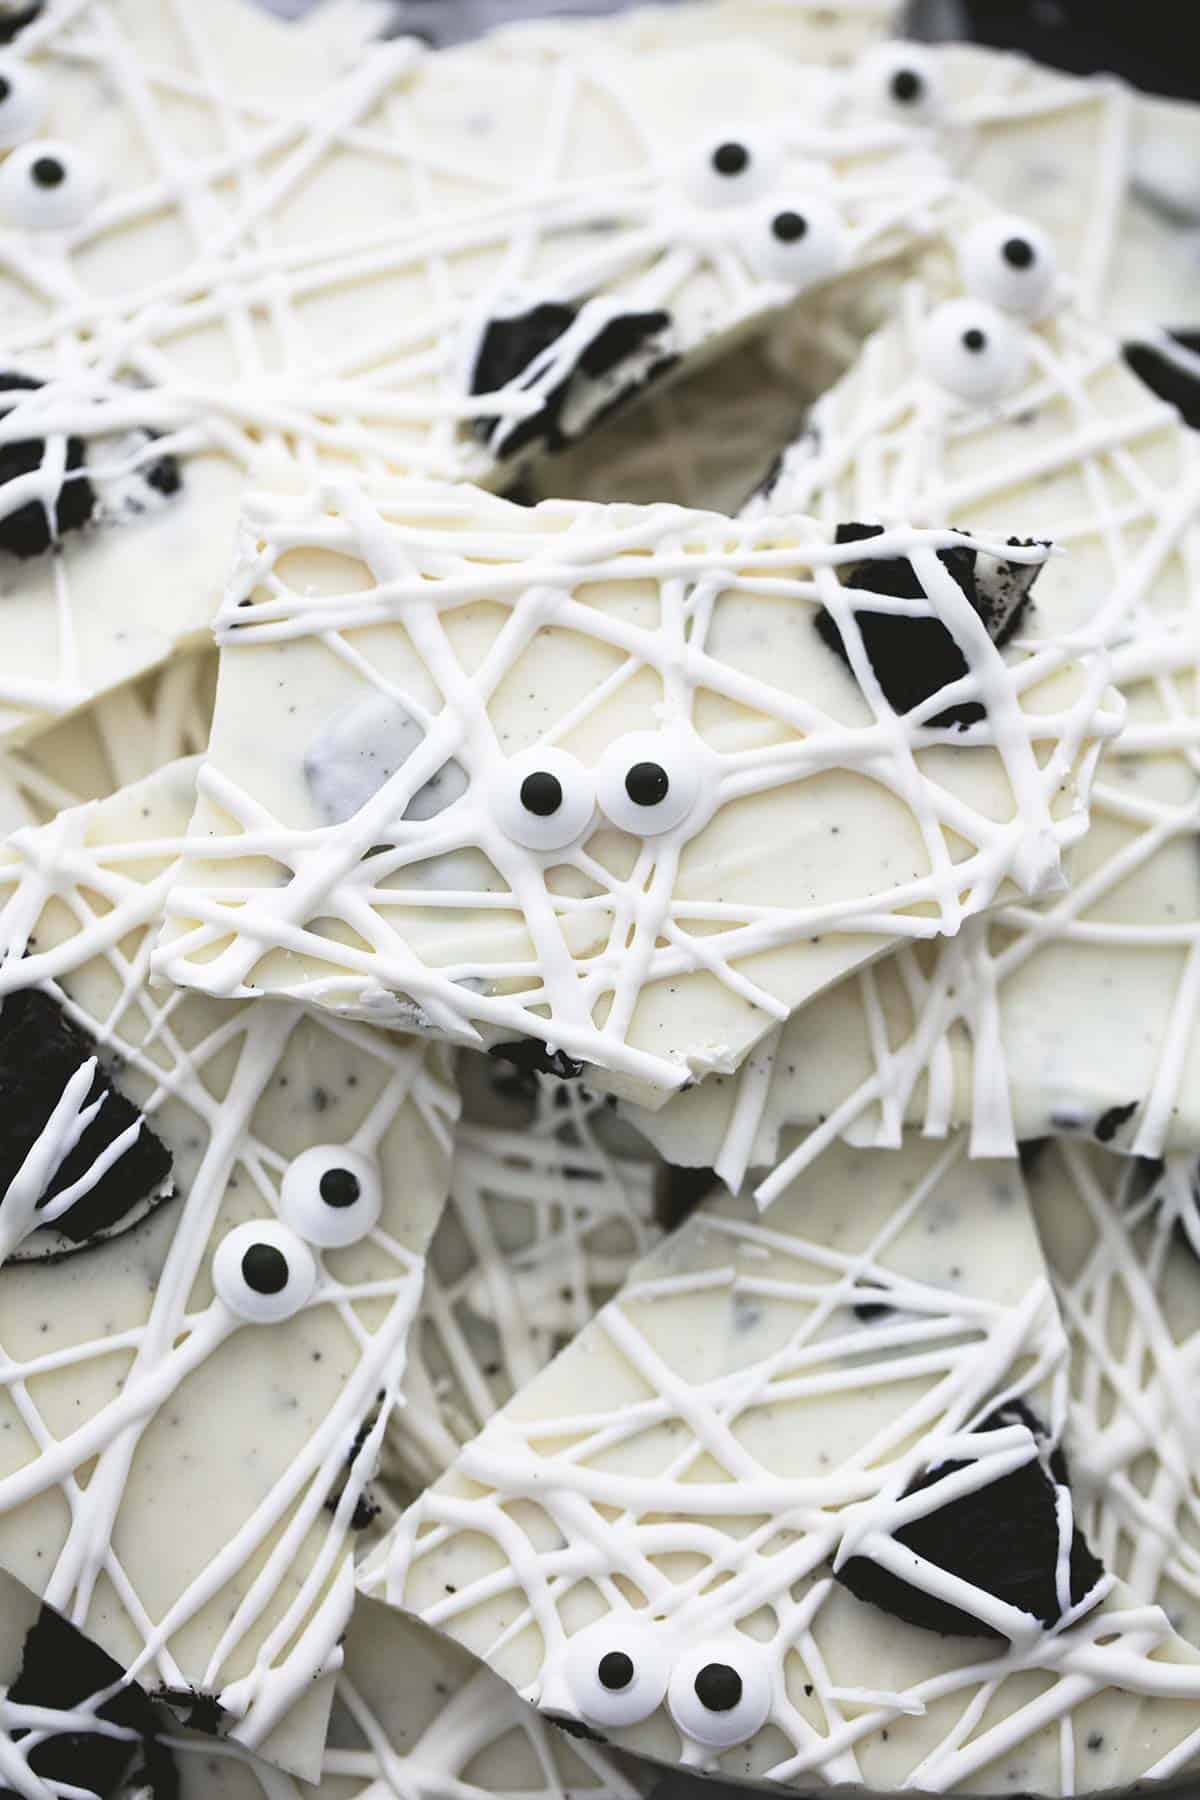
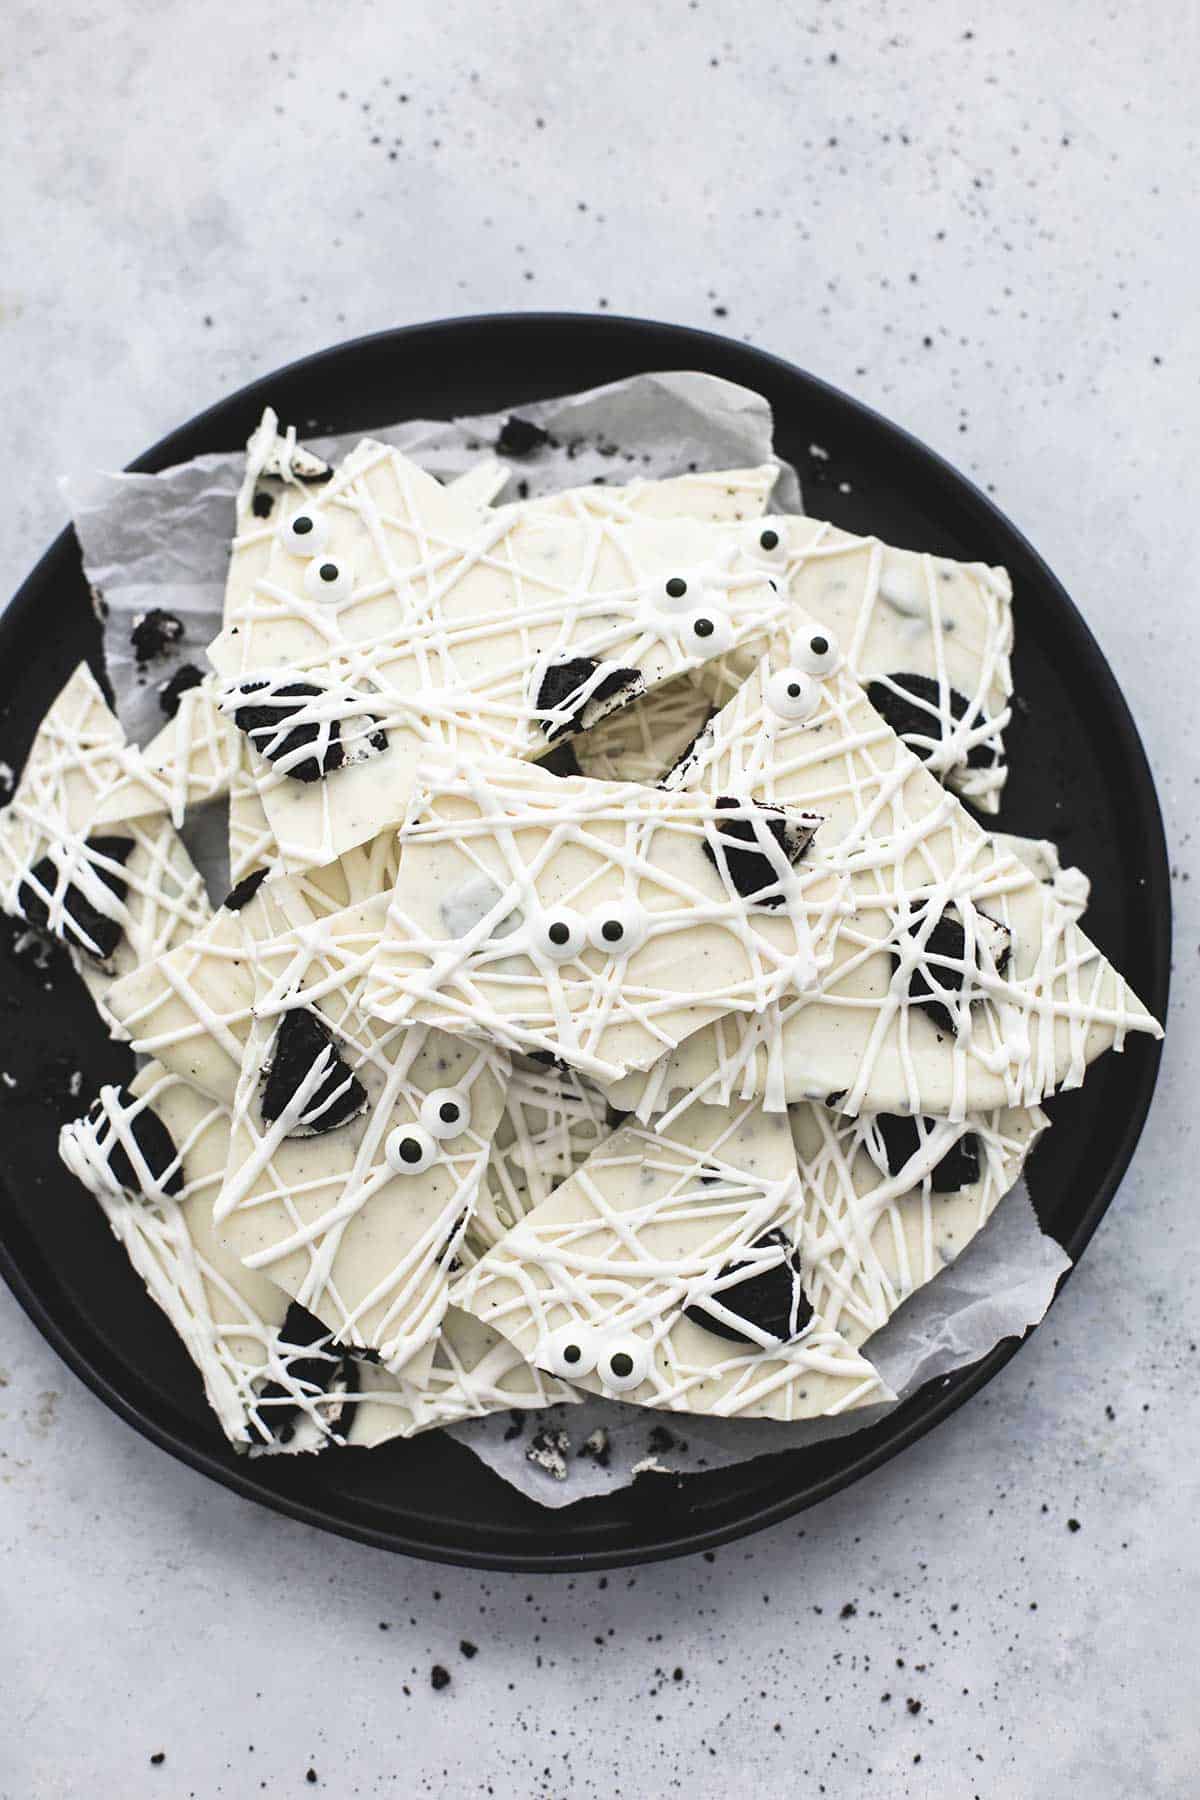
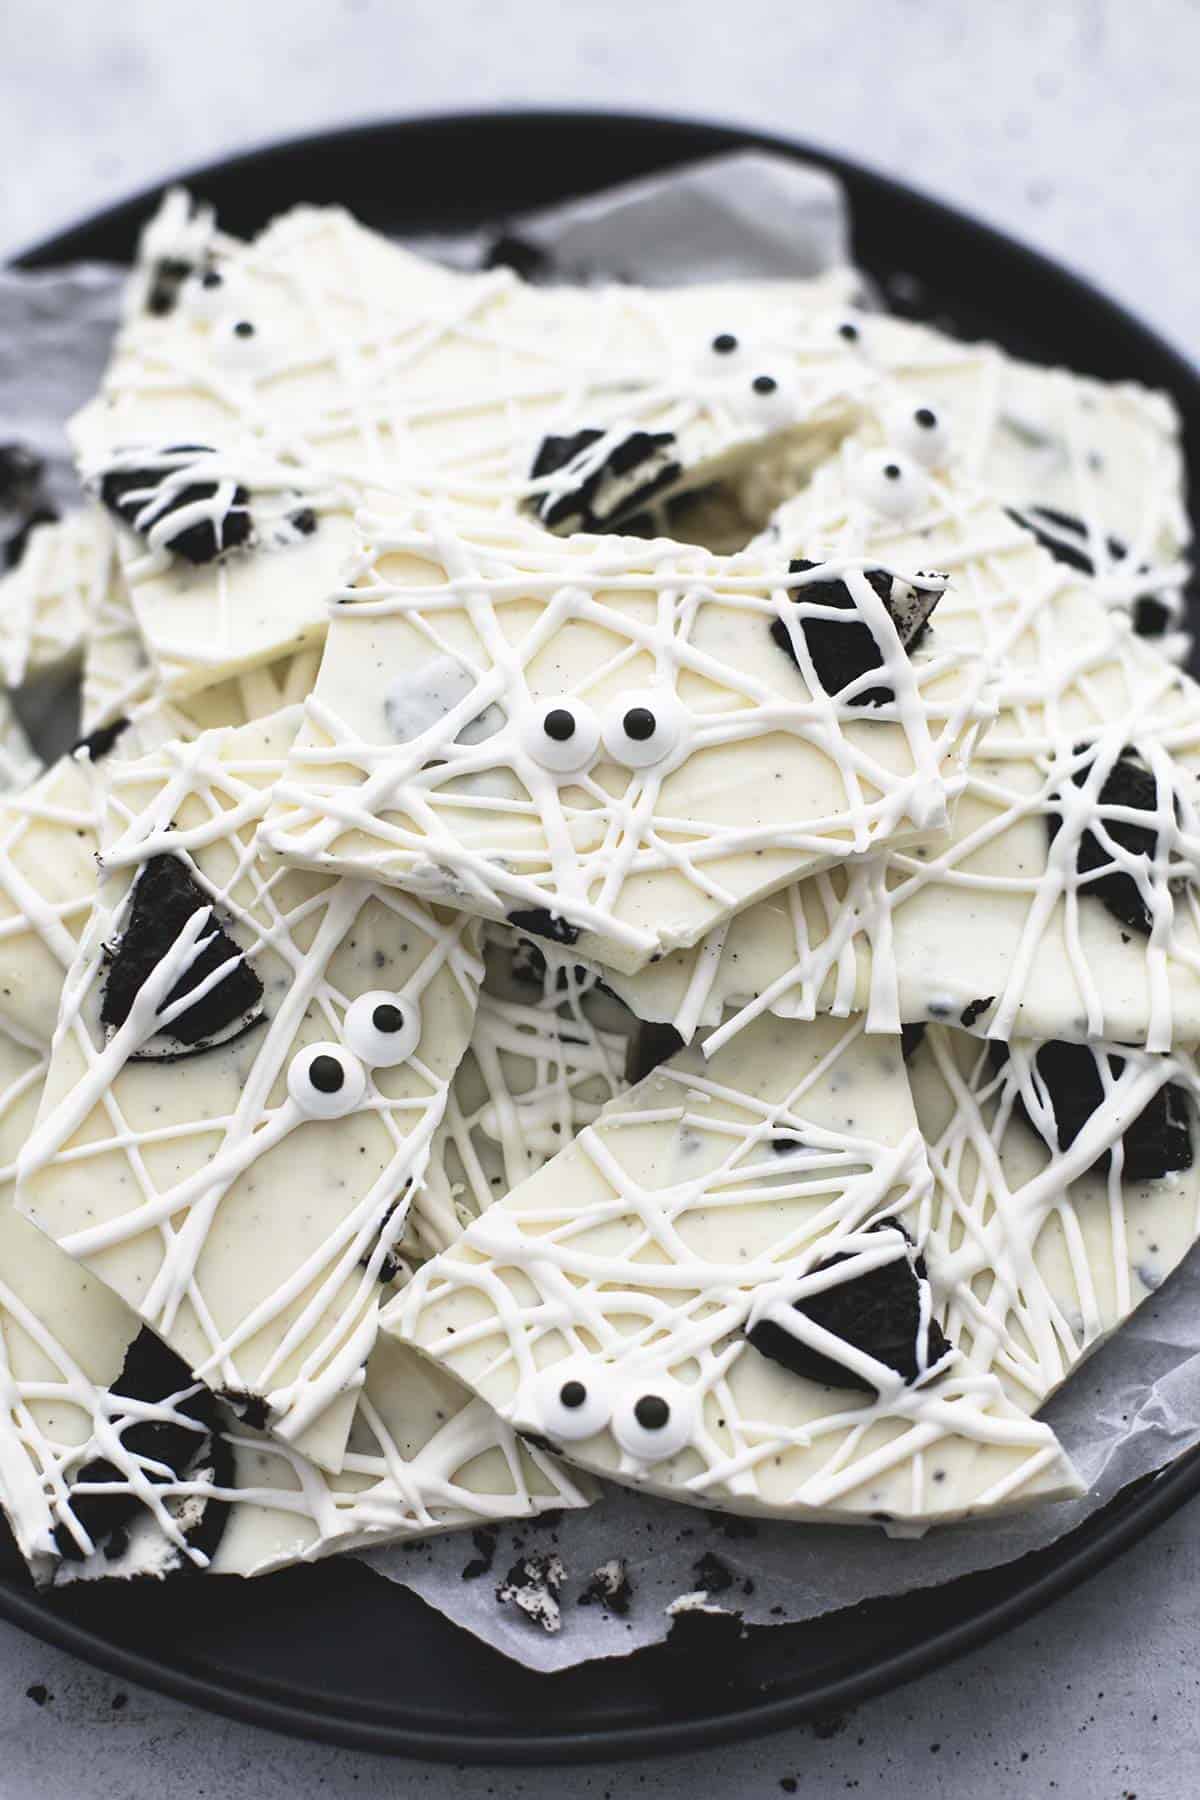
This easy, No Bake Halloween Mummy Bark is the perfect fun and spooky halloween treat. No one is too old to enjoy this cute treat!

Why This Recipe Works
Oh so cute: Seriously, this white chocolate bark dessert is just adorable. Sometimes I love to make a themed recipe and these are perfect for kids and adults alike! You can take these treats to the school Halloween party, or just have them at home for the kids!
So Simple: This no bake Halloween mummy bark recipe is pretty easy. It should only take about 15 minutes to make! It involves melting chocolate, cutting up the cookies, refrigerating and placing the cute little candy eyes. The longest part of this process it letting the bark set up in the fridge!
Delicious: My mummy bark combines two of my favorite things: white chocolate and Oreos! This is a delicious cookies and cream bark recipe that you can make all year round, but during Halloween adding the candy eyes make it even more fun to eat.
Ingredients
- White Chocolate– You can use white chocolate chips or white chocolate bars for this recipe.
- Sandwich Cookies– I used Oreos in this recipe, but use your favorite sandwich cookie! You can get these gluten free if you want a gluten free bark.
- Candy Eyes– The candy eyes make this recipe fun. You can find these in the baking aisle at the grocery store!

How to Make No Bake Halloween Mummy Bark
Step by Step Instructions
- Chop cookies into quarters and set aside. Save the cookie crumbs that fall aside when you are chopping the cookies!
- Place the white chocolate in a microwave safe bowl. Microwave on half power for 2 minutes. Stir and return to the microwave for 20 second increments, stirring between each one until the chocolate is smooth. Transfer 1/4 cup of the chocolate into a resealable plastic bag and set aside.
- Set aside the large cookie pieces and add the collected cookie crumbs into the chocolate and stir to combine.
- Pour chocolate onto a foil lined baking sheet. Spread the chocolate to an even layer, about 1/8 inch thick. Press the reserved cookie pieces into the chocolate. Put the baking sheet in the fridge or freezer for 2-5 minutes until the chocolate it completely cooled.
- Snip the corner of the plastic bag and drizzle the reserved chocolate over the cooled chocolate and cookies. Press the candy eyes into the drizzled lines in pairs to create mummy eyes.
- Return to the fridge or freezer until completely cooled. Use a butter knife to cut into the chocolate to break into pieces and serve. You can also store the chocolate in an airtight container at room temperature for up to 1 week.

Expert Tips
- Be careful not to over heat your white chocolate. You want to melt the chocolate only until smooth. The microwave is strong and can sometimes burn the chocolate so keep an eye out!
- When drizzling the remaining white chocolate, don’t be shy! It will take a lot of random drizzling to make this bark look like little mummies.
- I like to place my candy eyes close together, to make the mummies extra cute. If they are too far apart, you might accidentally break the bark and split a pair of eyes.
- When you break the bark into pieces, it doesn’t have to be perfect. It’ll be imperfectly adorable!
Frequently Asked Questions
Bark is usually made of chocolate and candy and is broken into rough pieces. The reason this dessert is called bark is because it resembles the bark that comes off of a tree.
The easiest way to melt chocolate is in the microwave. It makes this recipe extremely easy. You can also melt chocolate over a double boiler. To make a double boiler, boil some water in a pot and place the chocolate in a heat resistant bowl on top of the pot. The chocolate will melt from the residual heat coming from the steam of the boiling water.
More Recipes You’ll Love
Try some more of my Halloween and fall recipes here!
- Spider Web Brownies
- Mississippi “Blood” Pie
- Pumpkin Cream Cheese Bundt Cake
- Homemade Pumpkin Pie
- Apple Pecan Pie

No Bake Halloween Mummy Bark
Ingredients
- 2 cups white chocolate chips
- 8 chocolate sandwich cookies
- candy eyes
Instructions
- Chop cookies into quarters and set aside. (Be sure to keep the bits and crumbs that fall aside when you’re chopping the cookies).
- Place chocolate chips in a microwave safe bowl. Microwave on half power for 2 minutes. Stir, return to microwave for 20 seconds at a time stirring after each until smooth. Transfer 1/4 cup of the chocolate to a resealable plastic bag and set aside.
- Set aside the large cookie pieces and add the rest of the bits and crumbs to the white chocolate and stir to combine.
- Pour chocolate onto a foil-lined baking sheet. Use the back of a spoon to spread chocolate to 1/8 inch thickness. Press reserved cookie pieces into the chocolate. Put the baking sheet in the fridge or freezer for 2-5 minutes until chocolate cools completely.
- Snip the corner of the plastic bag and drizzle reserved chocolate over the cooled chocolate and cookies. Press candy eyes into drizzled chocolate in pairs to create mummy eyes.
- Return to fridge or freezer until completely cooled. Use a butter knife to cut into chocolate to break into pieces and serve or store in airtight container at room temperature up to 1 week.


hey girl this looks so good! I love sweets!
Exactly like my recipe from last year. Even some of the photos
Oh how cute! Just hopped over to see, I love that you incorporated pretzels and dark chocolate! Such a fun Halloween dessert!
Thanks. I see you also liked my photo styling. Feel free to credit my blog for your inspiration.
Hi Jenny, I’ve actually never visited or heard of your blog before today when you left me your link and I have no reason whatsoever to copy anyone else’s work, my own photography has made my blog as successful as it is. Wish you all the best though!
You actually don’t need to visit my blog to view my work. It’s all over Pinterest and Facebook. The work speaks for itself. Thanks though. All the best to you too!
Jenny, You are incredibly rude and inappropriate in your attack. Because of that, I won’t ever visit your blog and I’m sure anyone with any sense reading this will feel exactly the same. How classless. Keep up the great work Tiffany!
Kimberly, you are correct. Classless. Tiffany, I will be making these for my grands this year! Such fun!
I hope your little grandkids love these! Thanks, Deborah!
I love this recipe. Simply because it only uses three ingredients, yet looks so great and gourmet. I have to try these.
Hey!
I made a six batches of these last night for a PTO treat bar for our school teachers AND a Girl Scout Halloween party. (It was a long night!) This was my first time making bark but a coworker recommended a table spoon of shortening per bag of chocolate to help it stay smooth and shiny. Other than that I stayed true to the recipe. The first batch I ran through I forgot to put the microwave at half power, but two minutes seemed to do the trick perfectly. So I just kept up that routine. Also, I forgot the first couple of batches to mix the cookie crumbs in the white chocolate before spreading. I sprinkled them on top instead, but it looks way better to mix it in. I wont make that mistake again! All-in-all it was so easy and fun!! And yummy!!! My kiddos loved helping too. This is a recipe that they could help with every single step. I loved it!
Side note: It also looks stinking adorable!! I picked up a square black paper platter from Hobby Lobby ($1.40 for two) because I loved the way the photo showed the bark on a black plate. I wish I could attach a picture to show you!!
Thanks a million for the recipe, I may volunteer to make more food for 90 people if I can find recipes like this!