So you wanna take great pictures of food that will make your viewer’s jaw drop and leave a bit of drool on their keyboard huh? Well, I am definitely not an expert in photography of any kind, but after a year of food blogging and working my buns off (pardon my French), I’ve learned a few things. I’ve debated for months whether or not to write a post like this. What if no one reads it? What if someone hates it?? What if everyone boycotts my blog because they think I have no right to be speaking in any authority on the subject of food photography??? A little farfetched? Maybe. But I worry about these things you guys. But you’re my friends, and friends share. So, I’m sharing a few tips with you today. Take it or leave it, totally up to you! And if you hate everything I have to say, that’s okay. We can still be foodie-lovin’ pals.
Alrighty then. Since you’re still here… Let’s get down to business. This food photography stuff, it can be tricky. But there are three things that really made “the big difference” for me. . .
ONE: LEARNING THE NUTS AND BOLTS OF FOOD PHOTOGRAPHY – (aka: Where on earth do I start?!)
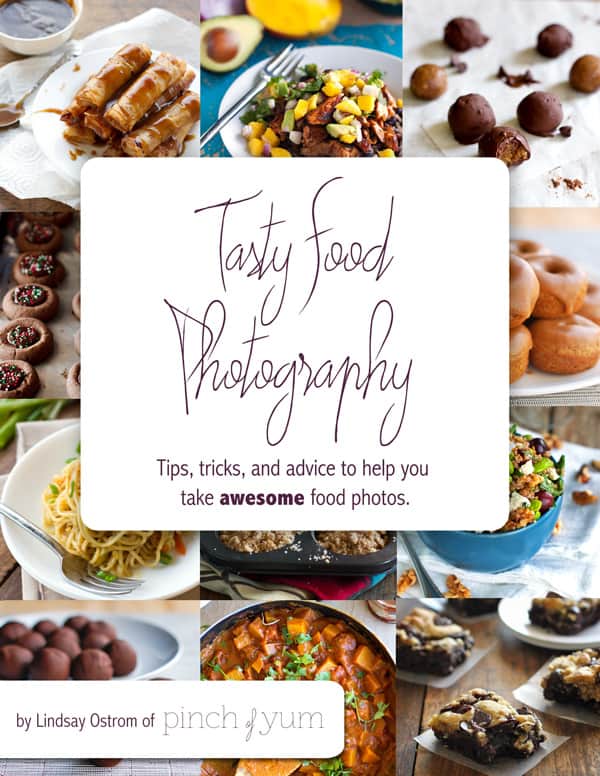
The first thing you have to do is learn the basics. There are scads of decent sources out there for learning how to take pictures of food. I’ve read hundreds of blog posts (um, sorta like this one, except written by people who actually know what they’re talking about), watched dozens of videos and tutorials, talked to professionals, and spent ridiculous amounts of time researching food photography – but the very first thing I would recommend to anyone and everyone who wants to take a picture of a cupcake, or pickles, or whatever food your little heart desires to photograph, is a book. Boring? No. This book will knock your socks off, promise. Lindsay from Pinch of Yum wrote this super awesome eBook called Tasty Food Photography.
(Already convinced?? Click on this link to learn more and purchase the book! – – – > 
This book breaks down food photography into small, easily digestible bite-size pieces that anyone can swallow. (wow, that’s a lot of punnage in one sentence) Like I said before, there are a lot of sources out there, but I believe that Tasty Food Photography is one of the absolute best resources for learning the fundamentals of food photography. Everything from how to work your new camera (aperture, shutter speed, ISO, and more) to how to pick props and plate your food. This book you guys. Get it. You will not regret it.
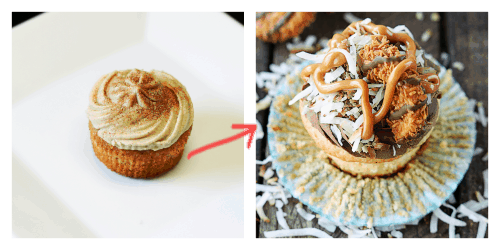
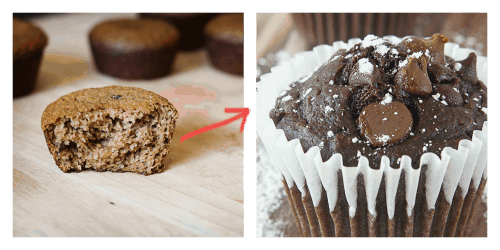
Fun fact: the picture on the left was the very first photograph I shot and published on Creme de la Crumb.
TWO: HOW TO GET UP-CLOSE, SUPER SHARP PHOTOS
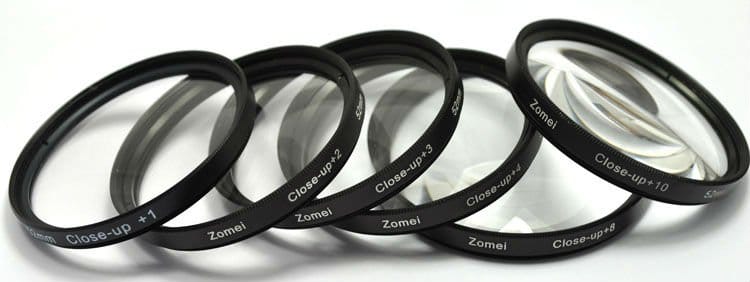
Photography is an expensive hobby. If I had unlimited funds (which I don’t) I would have quite a different setup than I have now. I’d get the top of the line in everything imaginable, because I love photography and I want to have the best quality in my photographs as possible. But I don’t have unlimited funds. And when I began Creme de la Crumb a year ago, I had even more-limited funds than I do now. But I really really wanted my pictures to look like those up-close, super sharp photos you see in magazines. A lot of food photographers will suggest purchasing a macro lens, and that was my first plan. Until I realized they are 2 thousand dollars! (deflated sigh). However, I found the key – the SECRET to really close-up awesome photos. I bought the cheapest (but totally fantastic) fixed lens I could find for my camera – click HERE to check it out –
and then I found these Macro Lens Filters.
(Because each camera and lens are different, this link will take you to a page where you can search through the different options and find the lens filters that will fit YOUR specific camera lens – if you need help finding the right ones for your lens – leave a comment, I’m happy to help!)
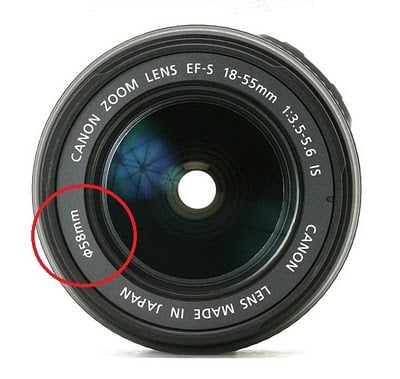
***The picture above is a help for finding your thread size – the number you will need when ordering the correct lens filter for your lens. Find the symbol and number on your own lens like the one you see circled in red in the image above. This is the number you need to match when purchasing your filters.***
***For those with the Canon EF 50mm f/1.8 II Camera Lens
–this is the exact set of filters I use with that lens***
This little trick has been one of the best things I’ve ever done for my photography. For what, less than 20 dollars? you can take your photos from – “oh that looks yummy” to “WOAH! It looks like I could grab it right out of the screen! Those little macro lens filters allow you to get up close and personal with your food without losing clarity and focus. I LOVE them. How do they work? Piece of cake. You just screw them onto the front of your lens and they magnify your subject without distorting it at all, so you can get exactly the image you’re imagining! Best. Trick. EVER.
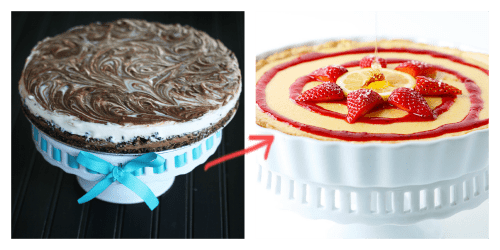
THREE: TAKING YOUR FOOD PHOTOGRAPHY TO THE NEXT LEVEL OF AWESOME aka: the WOW factor
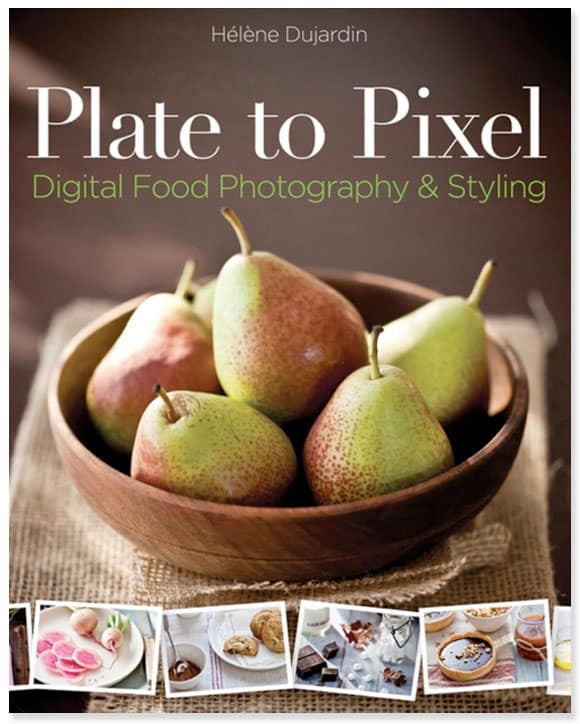
So once you’ve got the basics down, and you have some tools to help you get up close and personal with your food, you want the “wow factor”. How do you get it? You keep learning. A while back I found myself in a photography “rut” so to speak. I felt like every photograph looked the same and my photography was becoming dull and boring. I found this book called Plate to Pixel: Digital Food Photography & Styling.
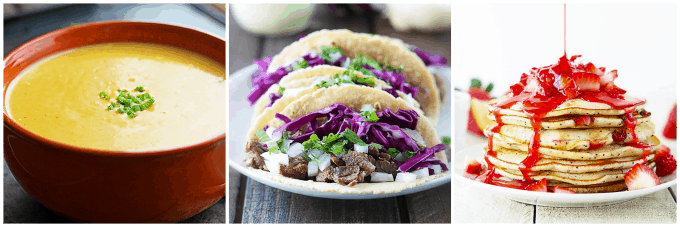
I’d heard this book mentioned a million times by other food photographers but thought, meh – I’ve read a couple of photography books, I don’t need another one. WRONG-O. This book is awesome! I only wished I’d read it sooner. It takes you back through a lot of the things that Lindsay talks about in her book Tasty Food Photography, but more in depth, and dives a little deeper into the feeling and stories behind photographs, and how to really deliver your message to your audience. The author, Helen Dujardin, does a stellar job at explaining how to get past the “Oh, yeah that looks good” and really get into the “Oh my gosh I NEED that taco!” with your food photographs.
Thanks so much for sticking it out to the end – you’re my best buds! I hope you found this post useful! If I get some positive feedback on this post and it seems like you guys want more, I’ve got scads of fun tips, tricks, and useful tidbits to share with you! If you have any questions, leave a comment – I’m an open book and I love to share!!
There are affiliate links included in this post. If you follow the links and do end up purchasing the items I’ve suggested, I will get a percent of the sale (yayyy) but I only suggest these items because I purchased them myself and use them regularly – they have improved my food photography dramatically and I believe they can do the same for you.


I’m just starting and these tips are great! just the right stuff to get me started without breaking the bank. So grateful to you for sharing these invaluable tips! site bookmarked!
OK, I’m very intrigued by the lens filters, but also super stumped on how to find them for my lens! The main lens I use is the 50mm: Nikon 50mm f/1.8D Autofocus Lens. I’ve tried to search for macro filters for this, but don’t think I have found the right thing…can you help? 🙂
thanks so much for this! I really want these filters but can’t seem to figure out the set i need for my camera. I have a Pentax K-S1 with a pentax 50mm lens. The filter I currently have on it is a Kenko Pro1D 49 MM UV filter.
I also need it to ship to Canada!Thanks for your help! terri@foodmeanderings. I’m not sure why this is in all caps, can’t seem to change it
Nice write up, and beautiful blog by the way!
Thank you! 🙂
Hello, what edting sOftware do you use?
Love your stuff and thanjs so much for keeping it real!
Hi Amy- thanks for the sweet compliment! I use photoshop for all my editing.