EASY soft caramels you can whip up in about 15 minutes. You don’t need a candy thermometer to make these caramels and they literally melt in your mouth!
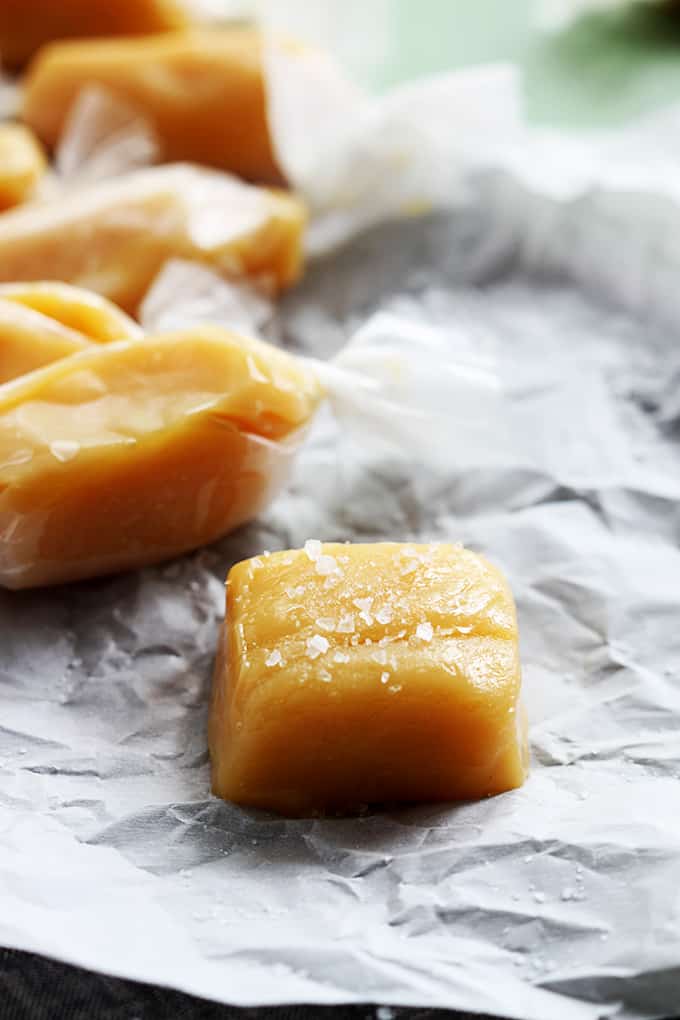
I have two all-time favorite caramel recipes. One is my mother’s and it is famous. Really. People will say things like “Heyyyyy how’s your mom? I’ve been craving her caramels since last Christmas!” Keep in mind that it’s September. So when they say they’ve been nursing a craving for caramels for 9 months, they’ve really been suffering for quite some time. They are perfectly buttery and have the richest, most incredible flavor.
I need one. NOW.
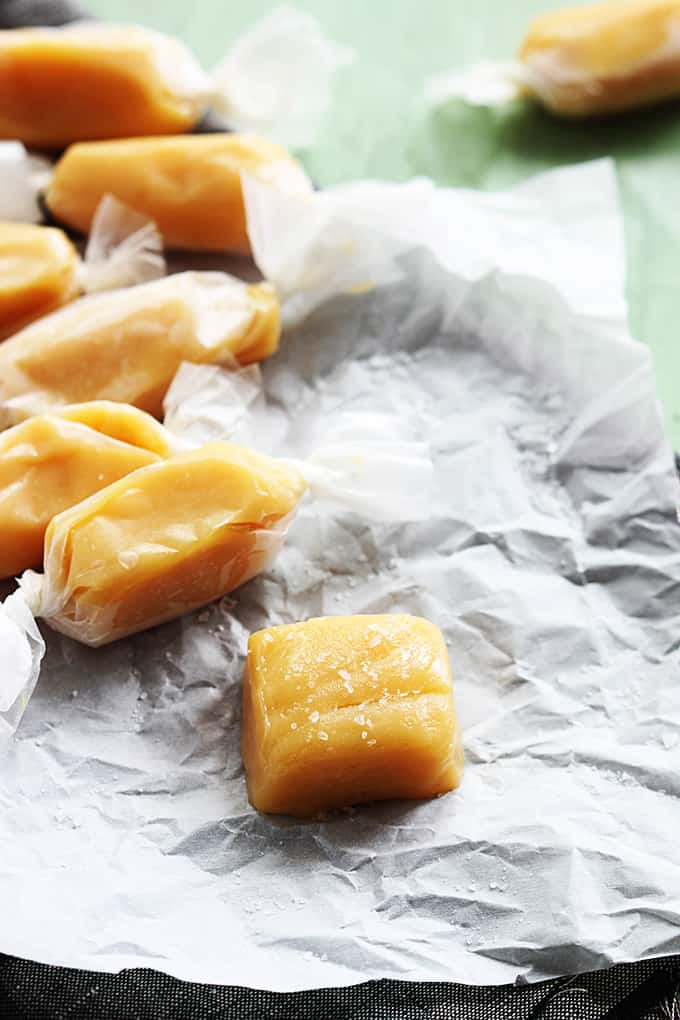
My other favorite caramel recipe is this one I’m sharing with you today. My mother’s recipe is so incredible, but it requires a candy thermometer, a giant pot, and a LOT of pot-stirring. As much as I adore those caramels, I tend to be a slightly less patient person then my mother and need something quick and easy that still delivers big buttery caramel flavor. That’s where this recipe comes in. Big flavor, little work. I love it.
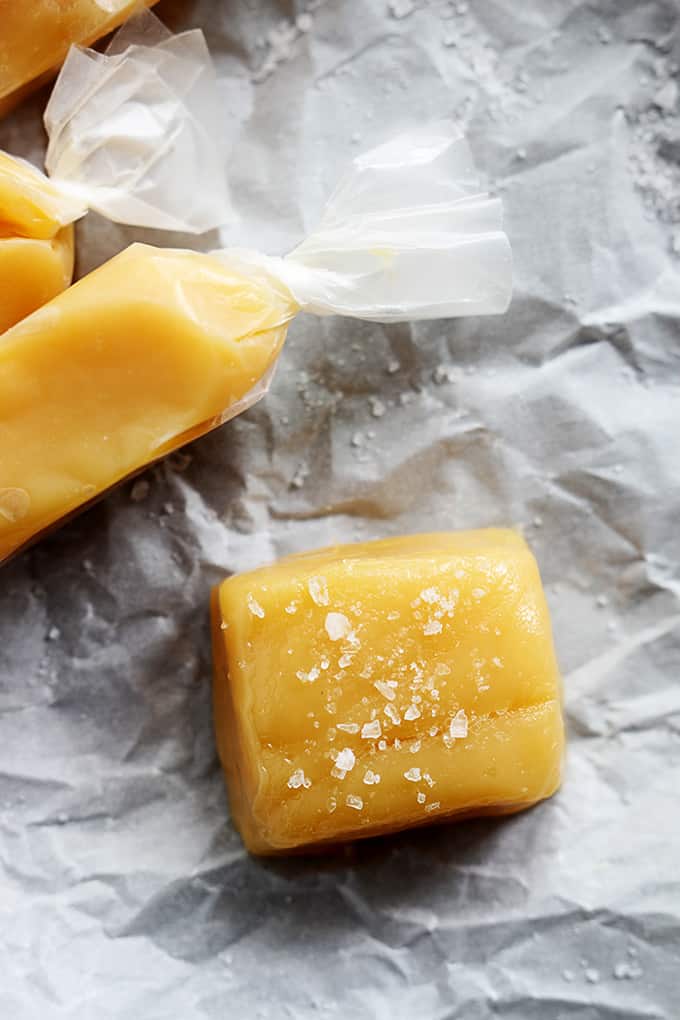
These caramels seriously are so easy to make. They only require four ingredients (5 if you decide to go all-out and sprinkle on the sea salt) and you spend about 10 minutes stirring and keeping an eye on the stove pot. The best part is that NO fancy gadgets – namely, the dreaded candy thermometer – are needed. Like I said, it’s easy, quick, and they are so melt-in-your-mouth yummy. The hardest part is waiting for the caramel to cool before eating it!
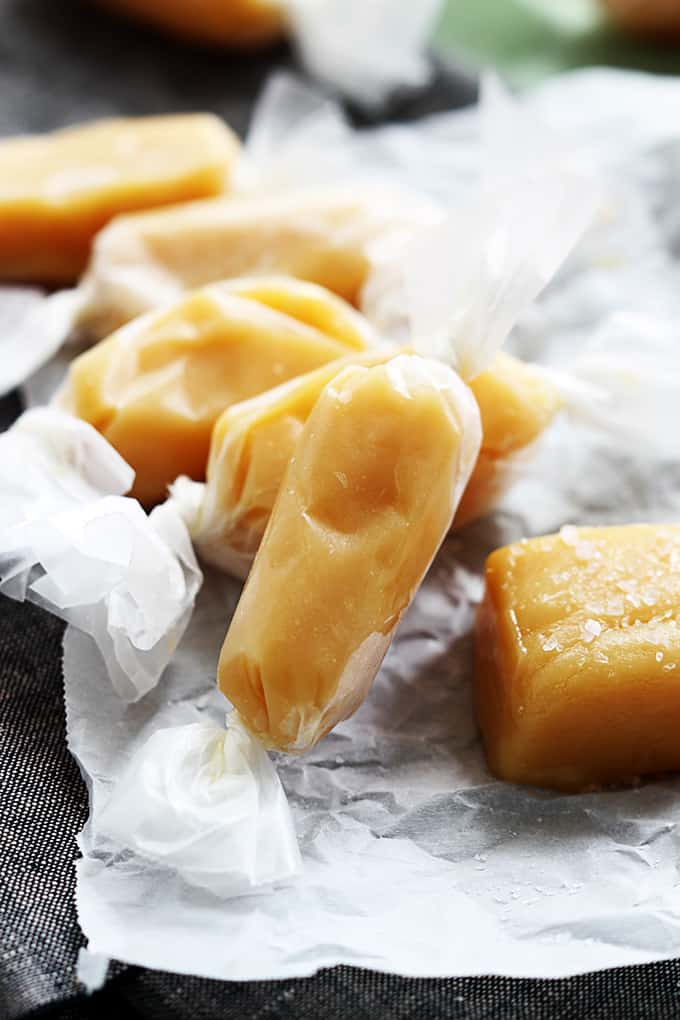
What people are saying about these Easy 4 Ingredient Soft Caramels
“Making this for the second time… and the first time was a huge hit. It started with someone at work bringing in salted caramels and me stating “Yeah I could probably make those”. So I made your caramel recipe (didn’t have a good time getting it unstuck from the foil though) and then laid the sheet out and used a small heart cookie cutter and cut out caramel hearts. Dipped them in dark chocolate and then dusted with sea salt. Verdict: People at work raved about them and said they were better than the ones from the candy shop. Thanks for sharing this great, and easy caramel recipe.” – Ian
“I tried these a few weeks ago and they are fantastic! Great recipe, and stores well. Making some more for friends & family right now!! 
“I LOVE this recipe!!!! Homemade caramel is my favorite and I haven’t had it since my grandma passed away. I saw this recipe and although I am a terrible cook I had to try it because it looked so simple. …And it was! If you follow the directions precisely, and wait for the candy to start pulling away from the pan (I had to cook mine longer here in AZ) it worked perfectly! This recipe has taken me back to grade school heaven. Thank you so much for a recipe that even those of us who only “cook on a whim” can successfully complete!” – Tisha
“Wow, thank you for this recipe! Tried it last night, slightly trepidatious from some of the other commentors struggles, but this worked beautifully! Just keep stirring! I’ve been wanting to try caramel-making for a while but have been intimidated by other recipes (and I don’t have a damn candy thermometer!) but this was easy and tastes great! I lined my pan with parchment paper instead of foil — no sticking issues! And I used a whisk and there were no separation issues either… THANK YOU for an easy-to-follow and tasty holiday recipe!” – Lorriana
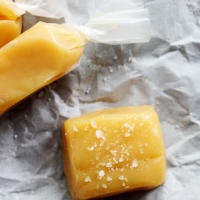
Easy 4 Ingredient Soft Caramels (no candy thermometer required)
Ingredients
- 1 ½ sticks butter - (12 tablespoons)
- ½ cup sugar
- 3 tablespoons light corn syrup
- 14 ounces sweetened condensed milk
- optional: coarse sea salt, ½ teaspoon vanilla - (see note)
Instructions
- In a medium sauce pan combine butter and sugar and stir over medium heat until melted. Stir in corn syrup and condensed milk.
- Bring to a boil and then decrease to simmer 7-10 minutes or until mixture achieves deep golden color, stirring constantly. (*For lower altitudes, simmer time may need to be reduced 2-3 minutes, watch carefully for coloring!) – See update below recipe!
- Pour caramel into a foil-lined 8×8 inch pan and allow to cool completely. Sprinkle with coarse sea salt if desired.
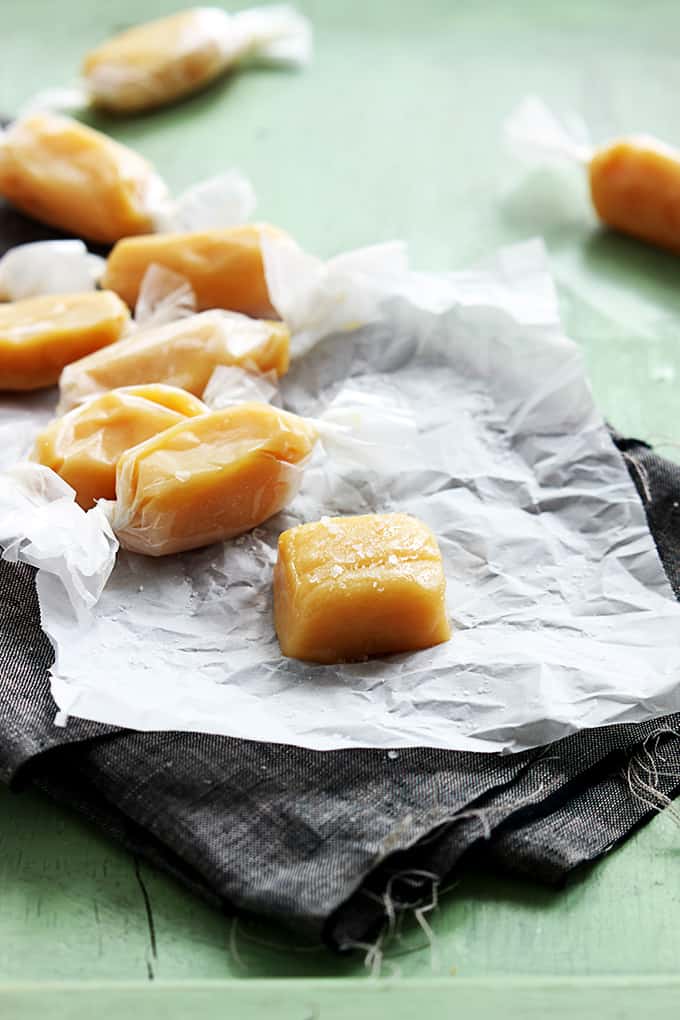
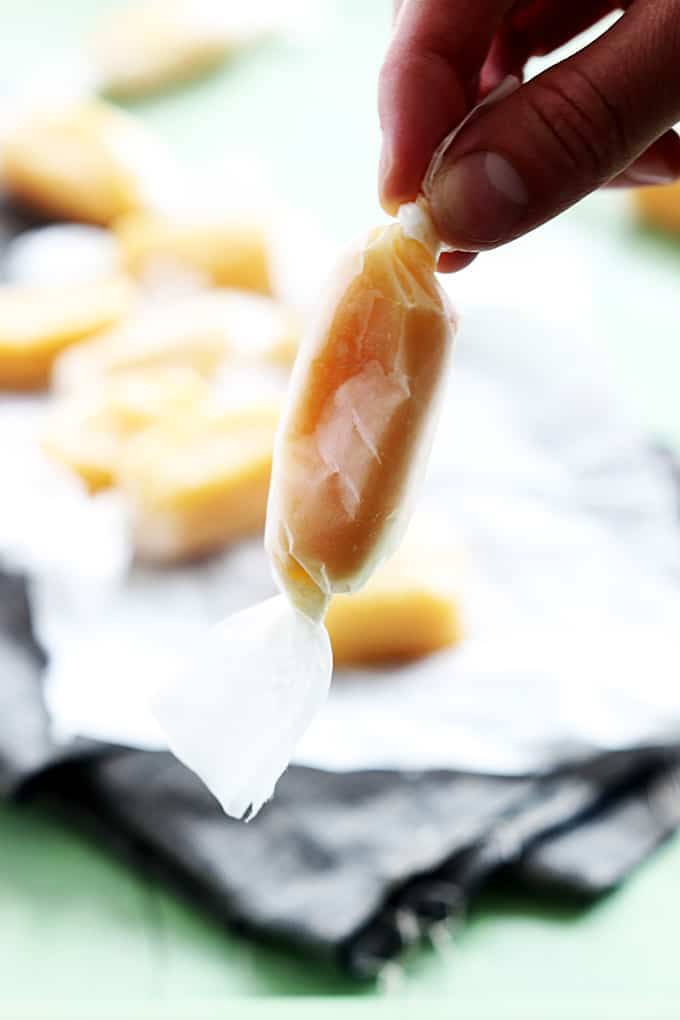
- When completely cooled, cut into squares and wrap in wax paper.
Notes
**recipe prep time does not include cooling time which may be 1-2 hours
***for additional richness and flavor, you can stir in 1/2 teaspoon vanilla after removing the caramel from the heat and before pouring it into your prepared pan. sprinkle coarse sea salt on top of caramels for a boost of rich salted caramel flavor!
Nutrition
RECIPE UPDATE: Some readers have reported that their caramels didn’t “set up”. This is most likely due to not cooking the caramel long enough. To clarify: after bringing the mixture to a rapid boil (step 2), reduce the heat to medium heat. The caramel will continue to bubble from here on out. Keep stirring over medium heat for about 10 minutes or until your caramel reaches a deep golden color and the caramel starts to “pull away” from the edges of the pan. Also, if your butter starts to separate, remove from heat and whisk whisk whisk like crazy and it will come back together – then continue to whisk over heat until deep golden color is reached.
If you aren’t familiar with candy making – it is commonly known that candy making can be temperamental due to location (altitude) and weather. That being said, I have personally never had an issue with this recipe, it always comes out perfectly!


How long do they last for once made?
I’ve kept these up to two weeks wrapped individually in wax paper!
About 45 mins at my house.
I’ve kept them in the fridge for MONTHS (forgot about them). They were still delicious and friends couldn’t tell the difference between those & the ones I gave them the day after they were made.
These were awesome. Made them for a secret santa gift at work. I used parchment paper to line the pan, and to wrap the caramels in. The recipient LOST THEIR MIND they were so happy with them. I sprinkled Maldon flake sea salt on half of them.
It took a lot of beating to incorporate the butter at first. I used my electric hand mixer to start it off but then finished it with the whisk. They stayed a lovely soft texture too, but I was careful not to cook them too much. This was an awesome, easy recipe and I thank you so much for posting it.
Wow, thank you for this recipe! Tried it last night, slightly trepidatious from some of the other commentors’ struggles, but this worked beautifully! Just keep stirring! I’ve been wanting to try caramel-making for a while but have been intimidated by other recipes (and I don’t have a damn candy thermometer!) but this was easy and tastes great! I lined my pan with parchment paper instead of foil — no sticking issues! And I used a whisk and there were no separation issues,
either. My boyfriend even got in on the action; his very first Pinterest craft, aw! 😉 Can’t wait to try another batch with a perhaps a chocolate-nut topping?! THANK YOU for an easy-to-follow and tasty holiday recipe!
I made this recipe this weekend for Christmas gifts! It turned out so well. 🙂 Thanks for the recipe! I will be going back to this again and again for little gifts.
A few suggestions:
* In your recipe instructions, you say “simmer” on step 2 and “reduce heat to medium” in your recipe update. When I made my first batch, I reduced to a simmer per the first instructions — but quickly realized I needed to bring the heat back to medium. Simmer and medium heat are vastly different. Medium was perfect! This might be why some people didn’t have the recipe set up properly.
* You also mention to line a 8×8 inch pan with foil. Now, perhaps this is commonsense, but when I read recipes, I take everything literally… so I didn’t coat the tinfoil with grease and didn’t assume I should or need to. My first batch was a huge mess. They tasted perfect, but tin foil was stuck to half of it. I’d highly recommend you change tin foil to parchment paper. Parchment paper worked PERFECTLY the second go-around. 🙂
Thanks again!