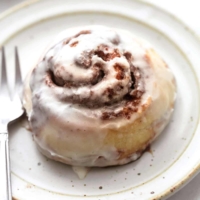
These Quick & Easy No Yeast Cinnamon Rolls require very little work, yet still yield the tastiest, gooiest, sweetest, doughiest, finger-lickinist rolls you could make from scratch and still seem like you spent all day on them.
Don’t forget to top them with the BEST CINNAMON ROLL ICING, and then try these Super Soft Cinnamon Rolls with Brown Sugar Frosting, or One Hour Cream Cheese Cinnamon Rolls.
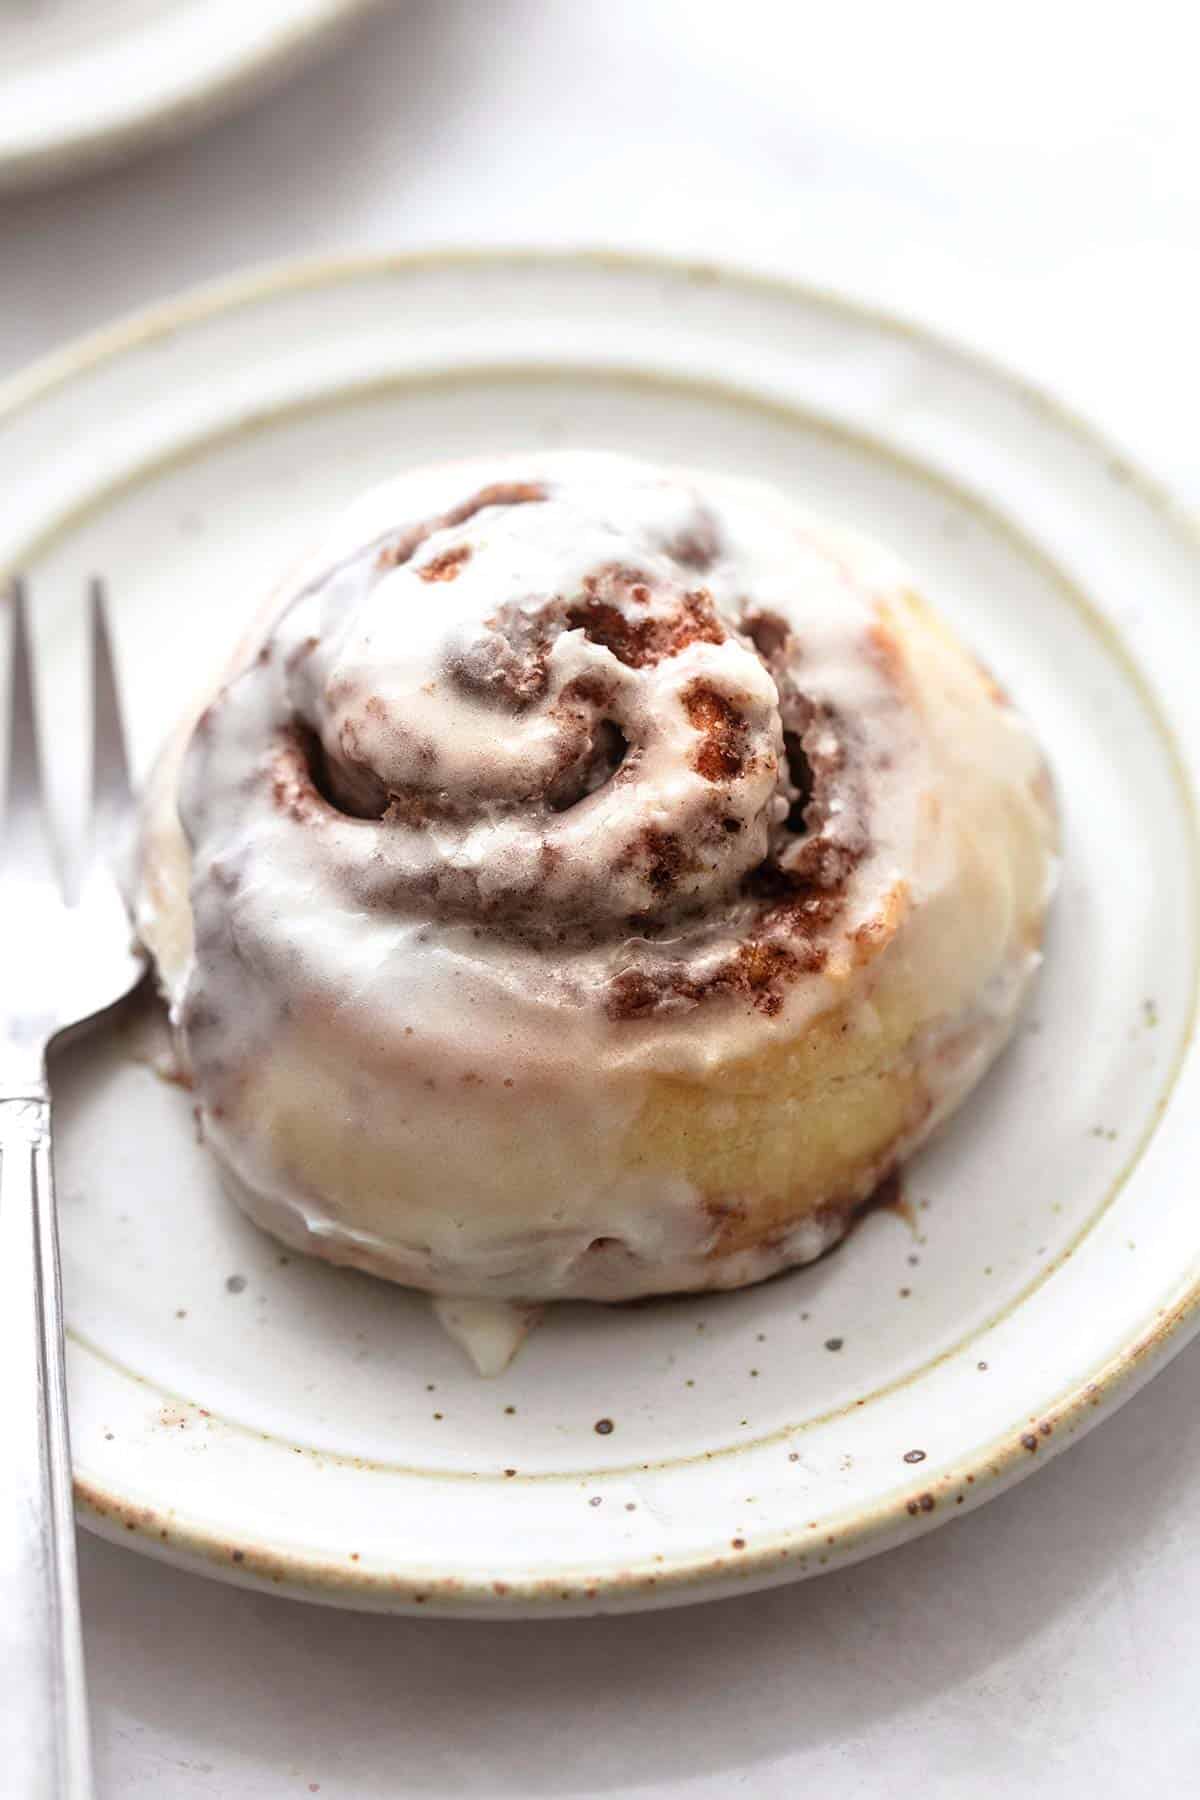
Like with cinnamon rolls. I really love cinnamon rolls. I do! All that gooey cinnamon-sugary stuff in the middle and that thick frosting smeared all over the top. I love it all.
But I really don’t love the idea of using yeast, rising times, and the looooong process that making cinnamon rolls can require. I know, I know — sounds lazy right?
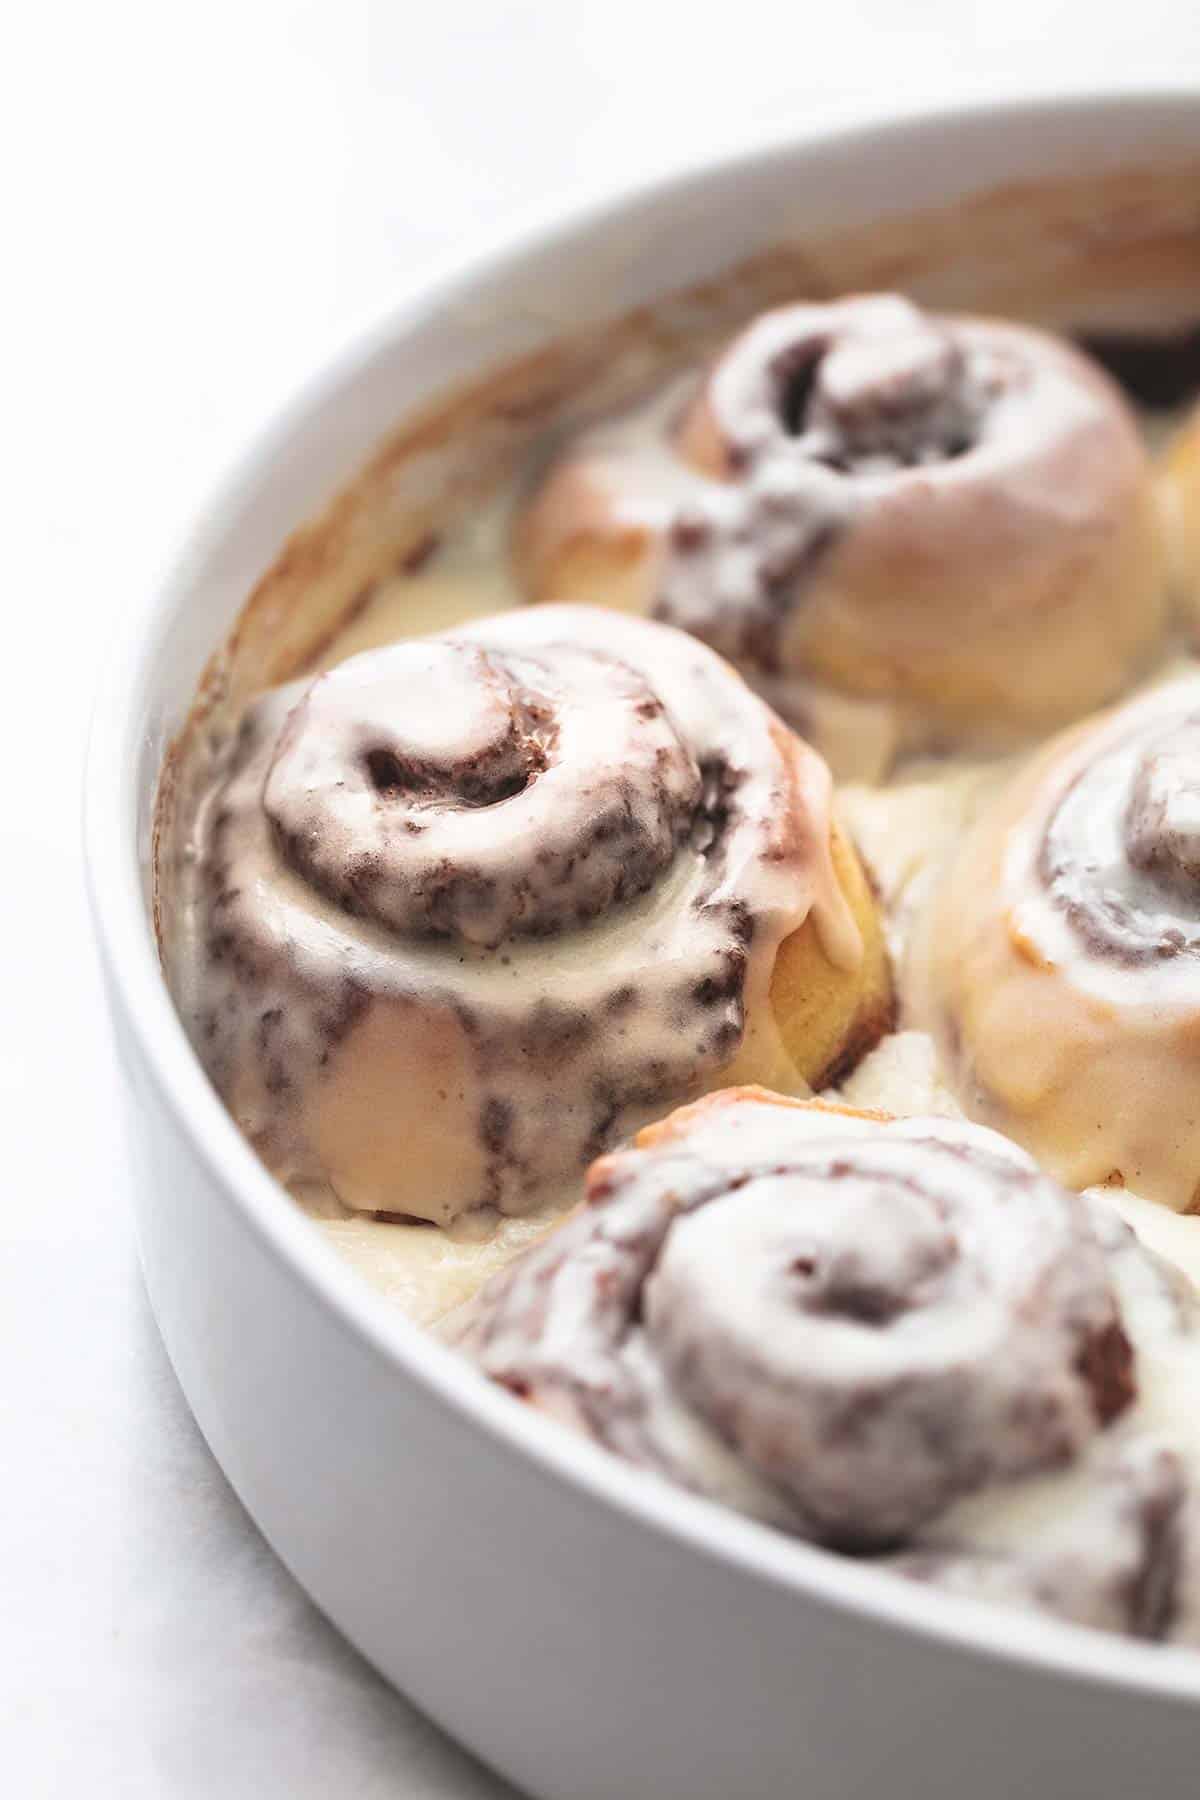
Normally I might try to talk myself into pulling on my adult pants and making a batch of “regular” yeast-y cinnamon rolls, but today I’m going against the baker inside of my and ditching the yeast.
Why? Well, because these ones required no yeast or rising time and were so so SO good. So why go for the longer process when the shorter one is just as good if not (dare I say it?) BETTER!
However, I also have to say something about this frosting. Holy heavens! I think we can all agree that the frosting is the best part, yes?
Except the problem with a lot of cinnamon roll frostings is that they are delicious for one or two bites but then makes you sick and you can’t even finish the roll because the frosting is so rich.
Good news! This frosting does not have that problem. I could eat it for days and days and never get that sick feeling. Just a please-make-another-batch-quick feeling.
So, all in all, all parts of these rolls are pretty much perfect!
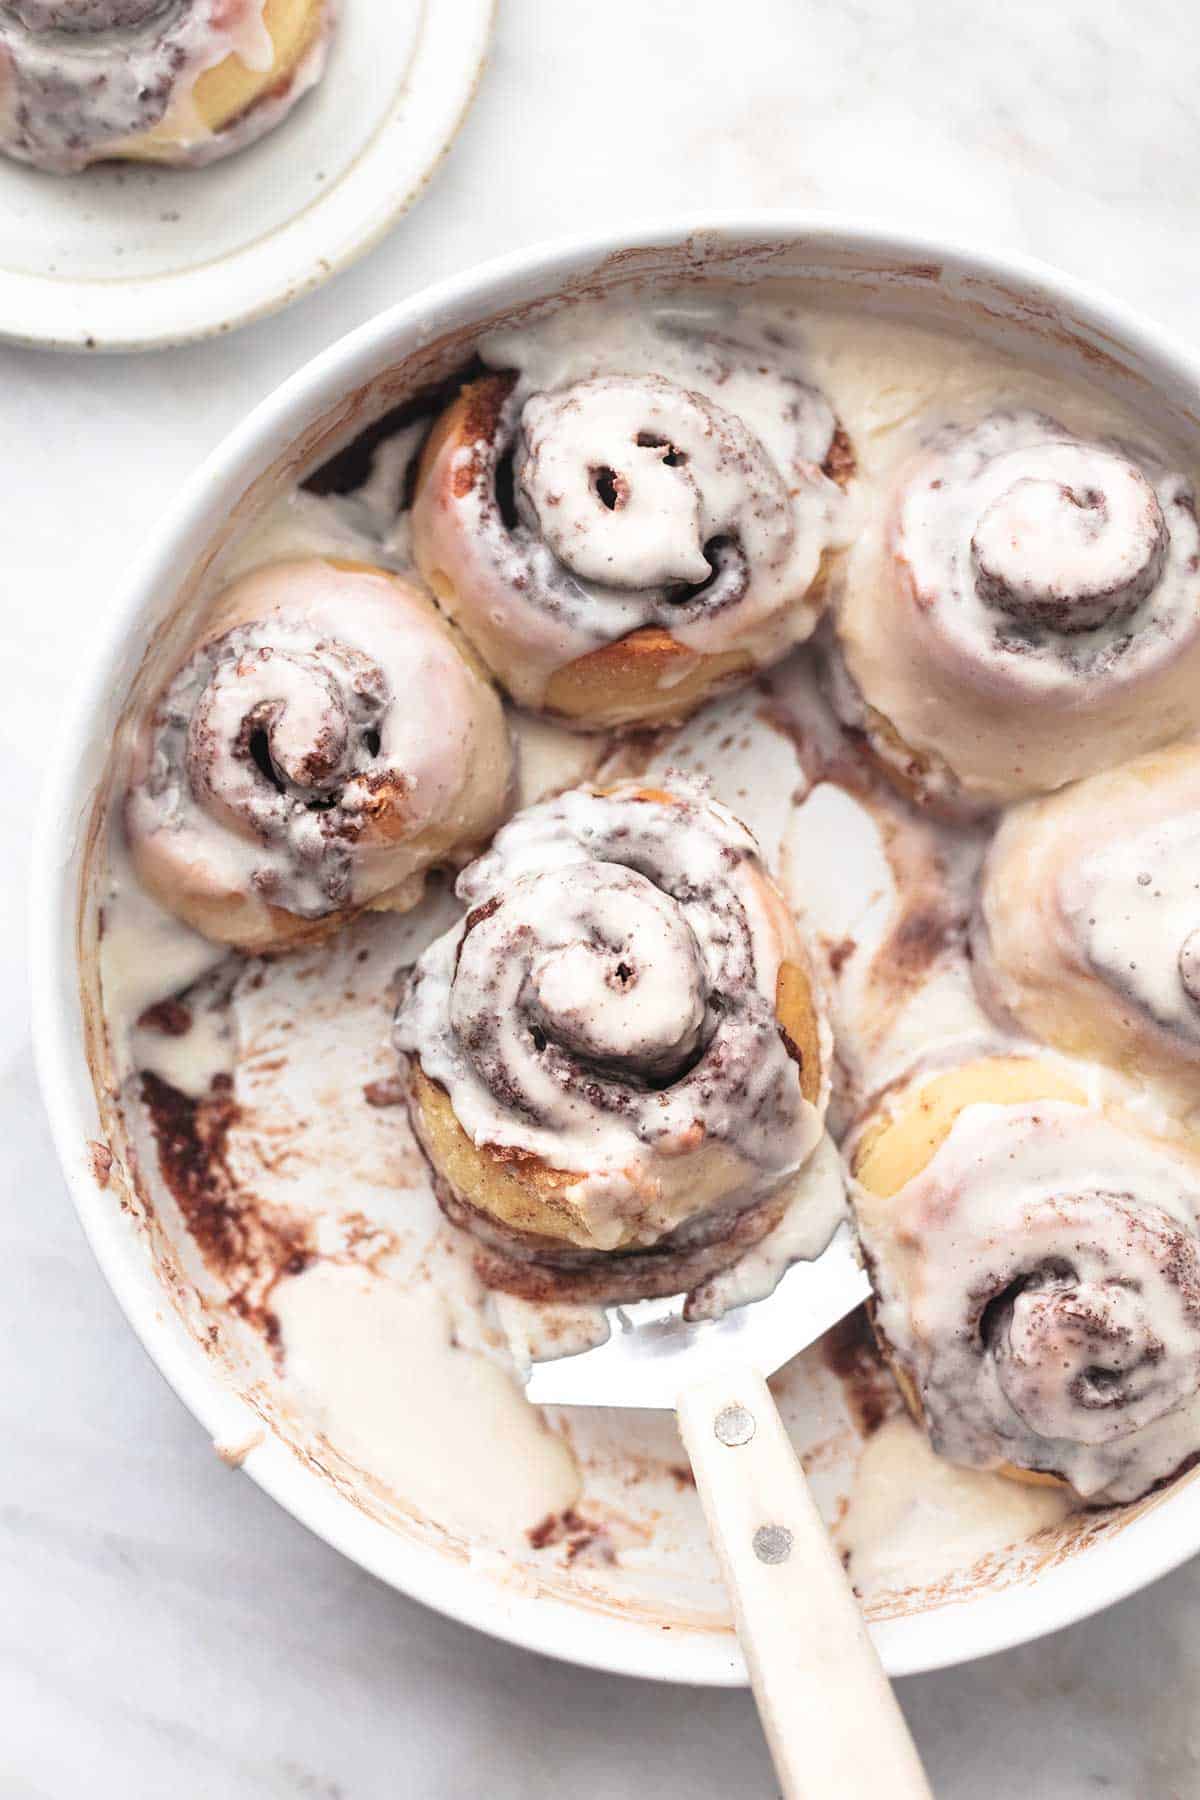
I’ve already thought of a few ways I want to use this frosting in the future.
And one of them includes only a bowl and a spoon.
But the others are a little less obsessive.
I know I said I made these for a thank-you gift but obviously I kept a few for the Hubby and myself. Mine didn’t survive til he got home from work but when he got to try his last night he couldn’t get it in his mouth fast enough. And he seriously had no complaints. No critiques. Nothin.
Except he did say he wished I hadn’t given them all away. So I guess I’ll have to make them again pretty soon.
Hey, I’m not complaining. These babies were delish.
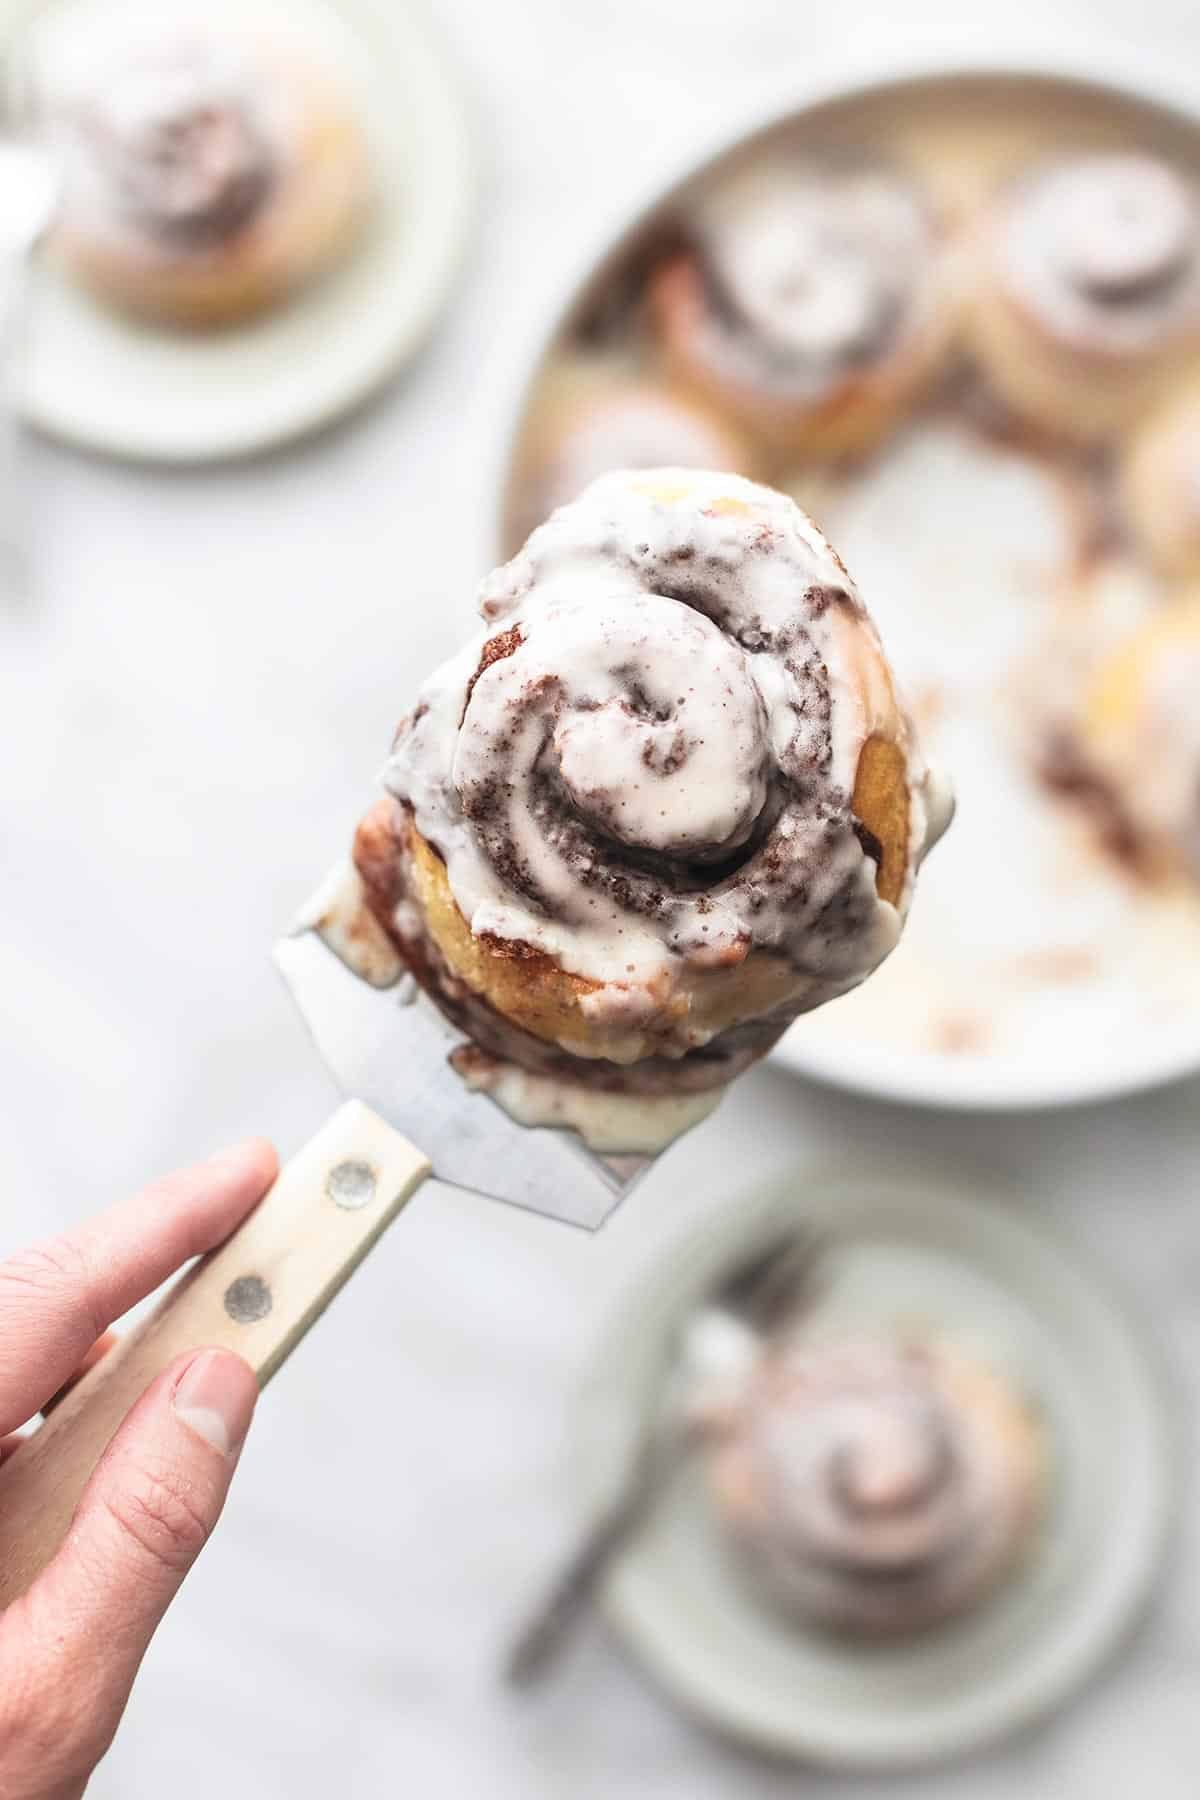
Here’s What you’ll Need
Filling
- Light brown sugar
- Sugar
- Cinnamon
- Vanilla
- Salt
- Butter
- Raisins (optional)
Dough
- Flour
- Sugar
- Baking powder
- Baking soda
- Salt
- Buttermilk
- Milk
- Butter
Frosting
- Butter
- Cream cheese
- Powdered sugar
- Milk
- Vanilla extract
Here’s How You Make it
You know there’s no waiting for the yeast so let’s get right to it, shall we?
- Preheat the oven to 425. Use about 1 tablespoon of melted butter to grease the bottom of a 9-inch cake pan. Set that aside and get to work on the filling.
- In a medium bowl combine sugar, brown sugar, cinnamon, and salt. Add in the vanilla and cut in the butter with a fork or your hands until well combined. Set that aside as well.
- Then, get out another larger bowl and whisk together the flour, sugar, baking powder, baking soda, and salt. Using a liquid measuring cup, measure out 1 cup of buttermilk and add to that 1/4 cup of another milk (I used 1%). Whisk 2 tablespoons of melted butter into the milk mixture. Then, mix the buttermilk mixture into the dry ingredients until just combined, and knead the dough with your hands for about 30 seconds. (I recommend flouring hands first as the dough will be quite sticky.)
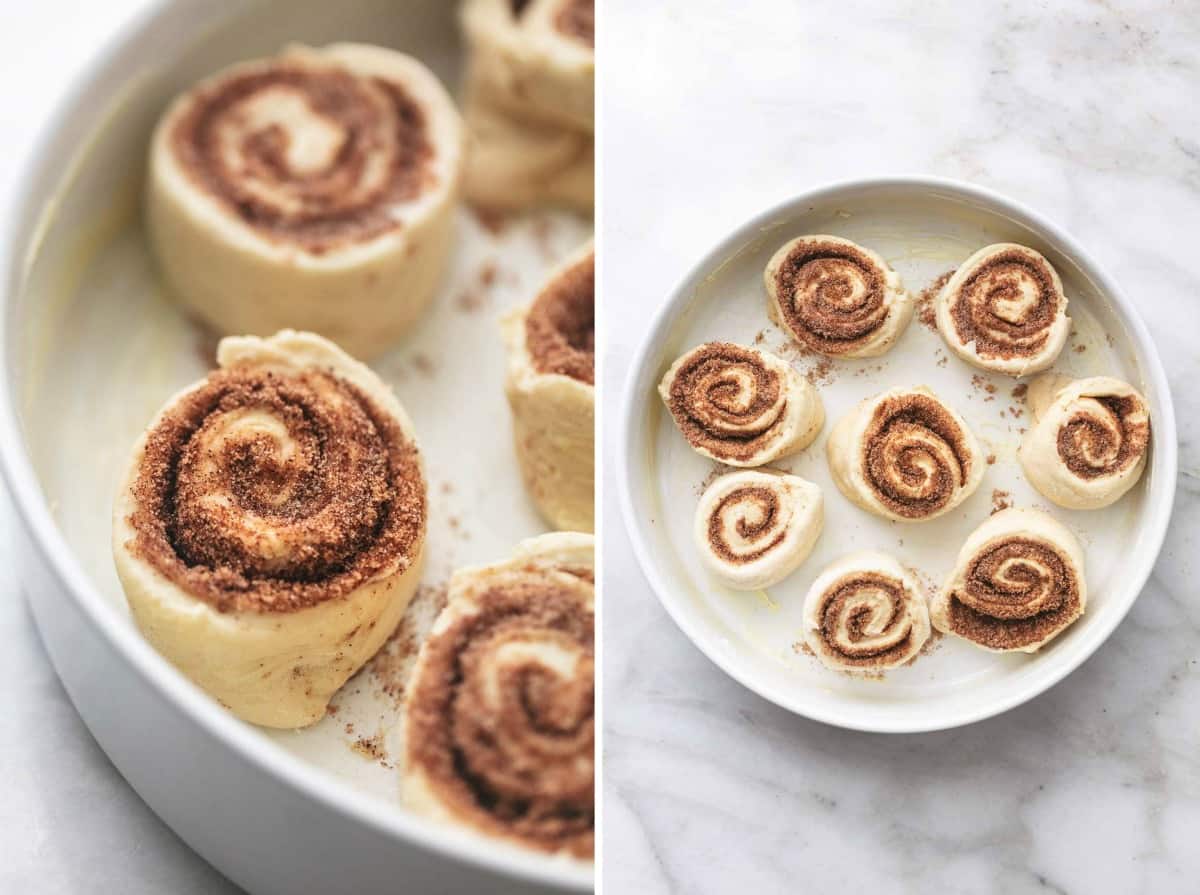
4. Lightly flour a clean work surface. Using your hands, press dough into a 12×10-inch rectangle. (It does not have to be exact or perfectly rectangular.) Brush 2 tablespoons of softened butter onto the entire surface of the dough. Spread the filling evenly onto the dough, coming to within about 1/2 inch of edges.
5. Press the filling into the dough. (Add the raisins now if you are including them.) Starting with the long end of the rectangle, roll the dough all the way to the opposite end. Roll the dough back and forth (while it’s together) to shape it evenly into a log shape. Pinch the ends together and cut off the excess, should be about 1/2 inch. The, cut the dough log into 8 equal sections, otherwise known as your rolls.
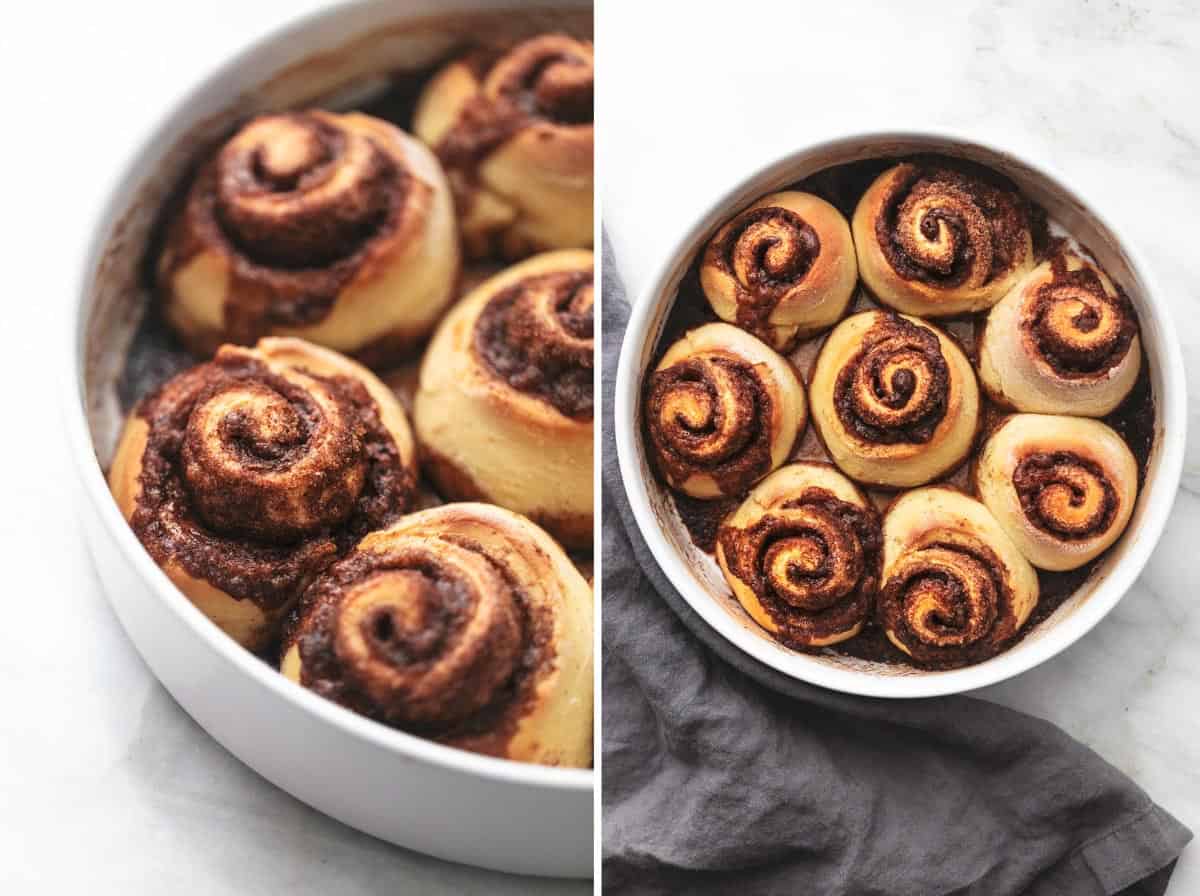
6. Place one roll in the middle of the buttered cake pan and then place the remaining seven rolls evenly around the first. Brush the tops of them with the remaining 2 tablespoons of melted butter. Put the rolls into the oven and allow them to bake at 425 degrees for about 15 minutes, then reduce the temperature to 350 and allow them to bake about 10 more minutes, or until edges begin to lightly brown. (I like mine a little more doughy so I pull them out a little early, but it’s up to you!)
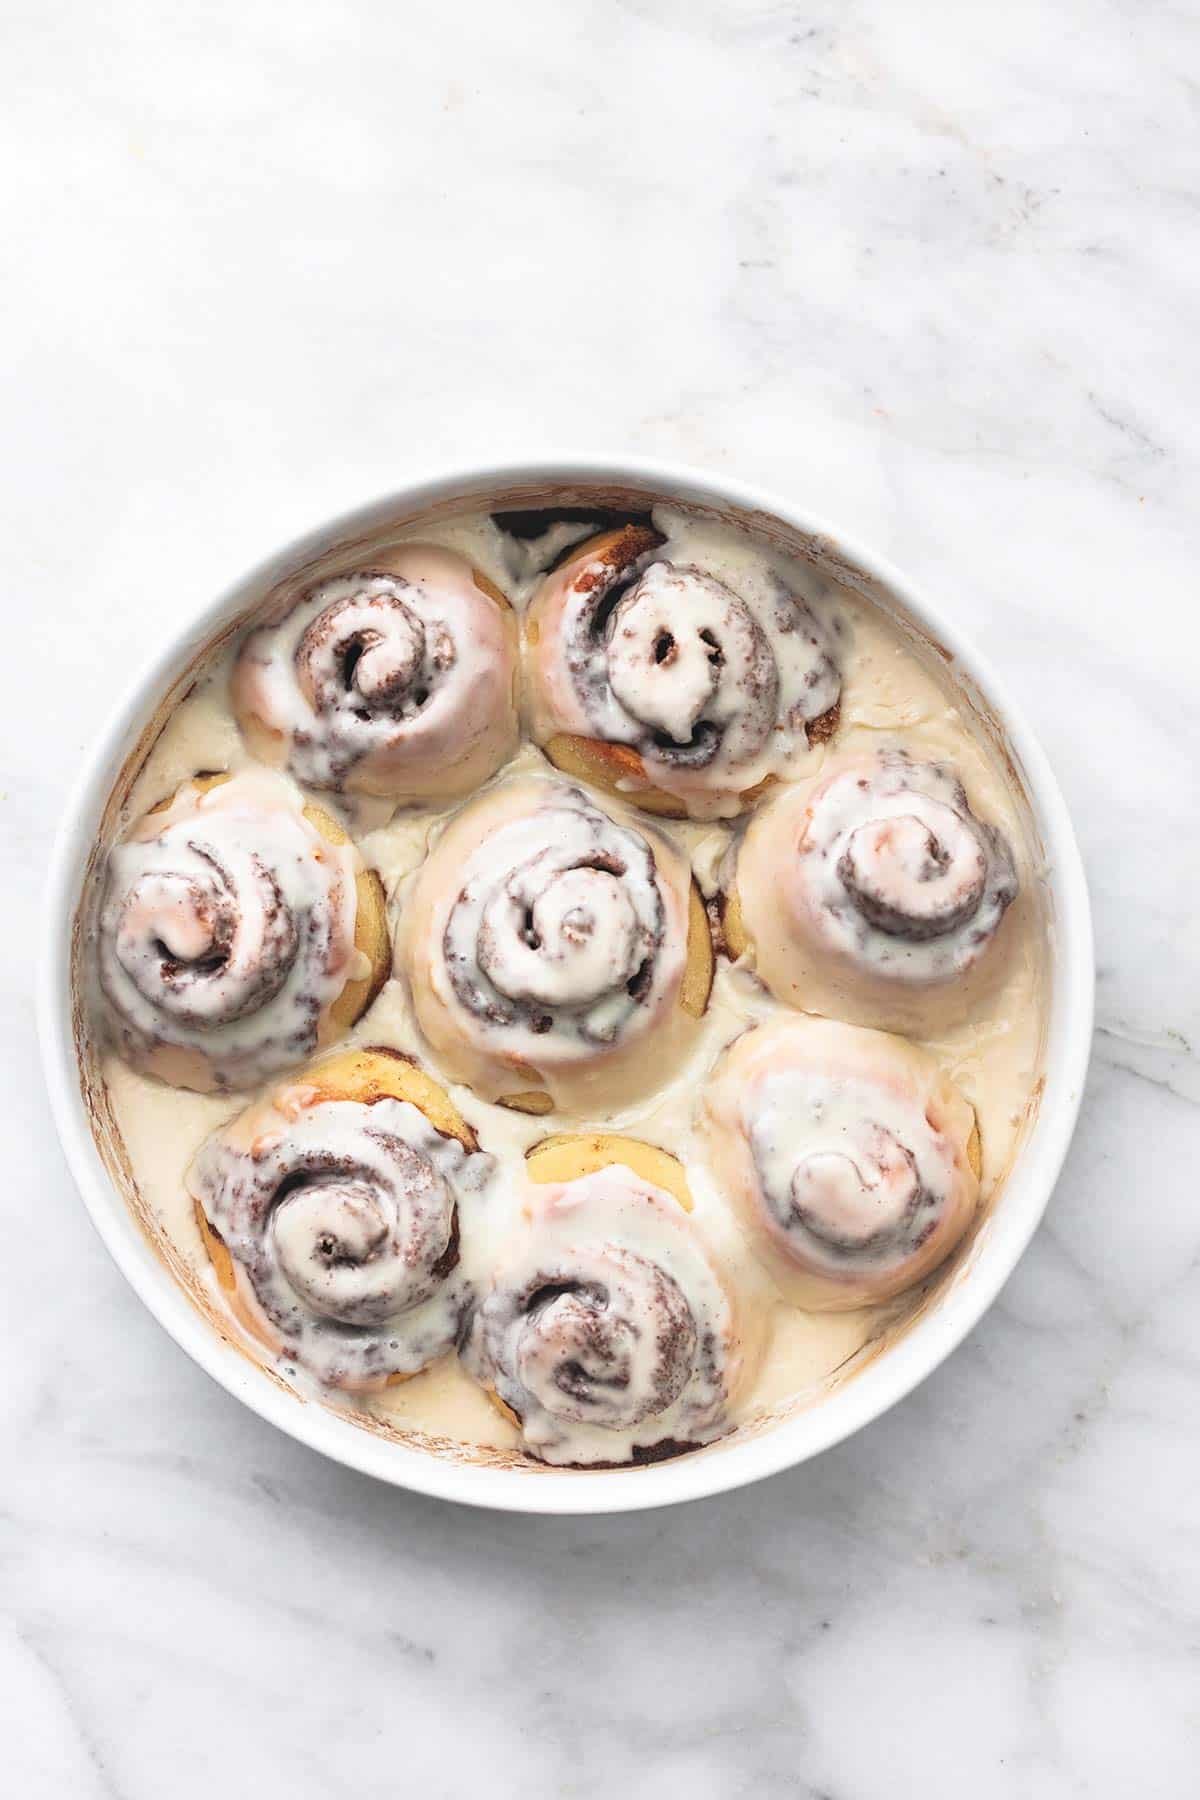
7. While rolls are baking it is the perfect time to prepare the frosting. Using a hand mixer, beat the softened butter and cream cheese until the mixture is light and creamy. Add in the powdered sugar, vanilla, and half-n-half. Mix all of this together until well combined.
8. When the rolls are finished baking, allow them to cool for 5-10 minutes before spreading the frosting on. You can store the cinnamon rolls in an airtight container for 2 days or serve immediately. Enjoy!
What Can be Used Instead of Yeast
Although these rolls require no yeast, there are times you need yeast and you don’t have it and you’re midway through the recipe so what can you do? Substitute it, that’s what. Full disclosure, I’ve not tried it myself but I have heard that you can use baking soda instead of yeast, but you have to add an acid like lemon juice to it. So, equal parts of both should do the trick. Or you could use buttermilk and baking soda (since that’s acidic too).
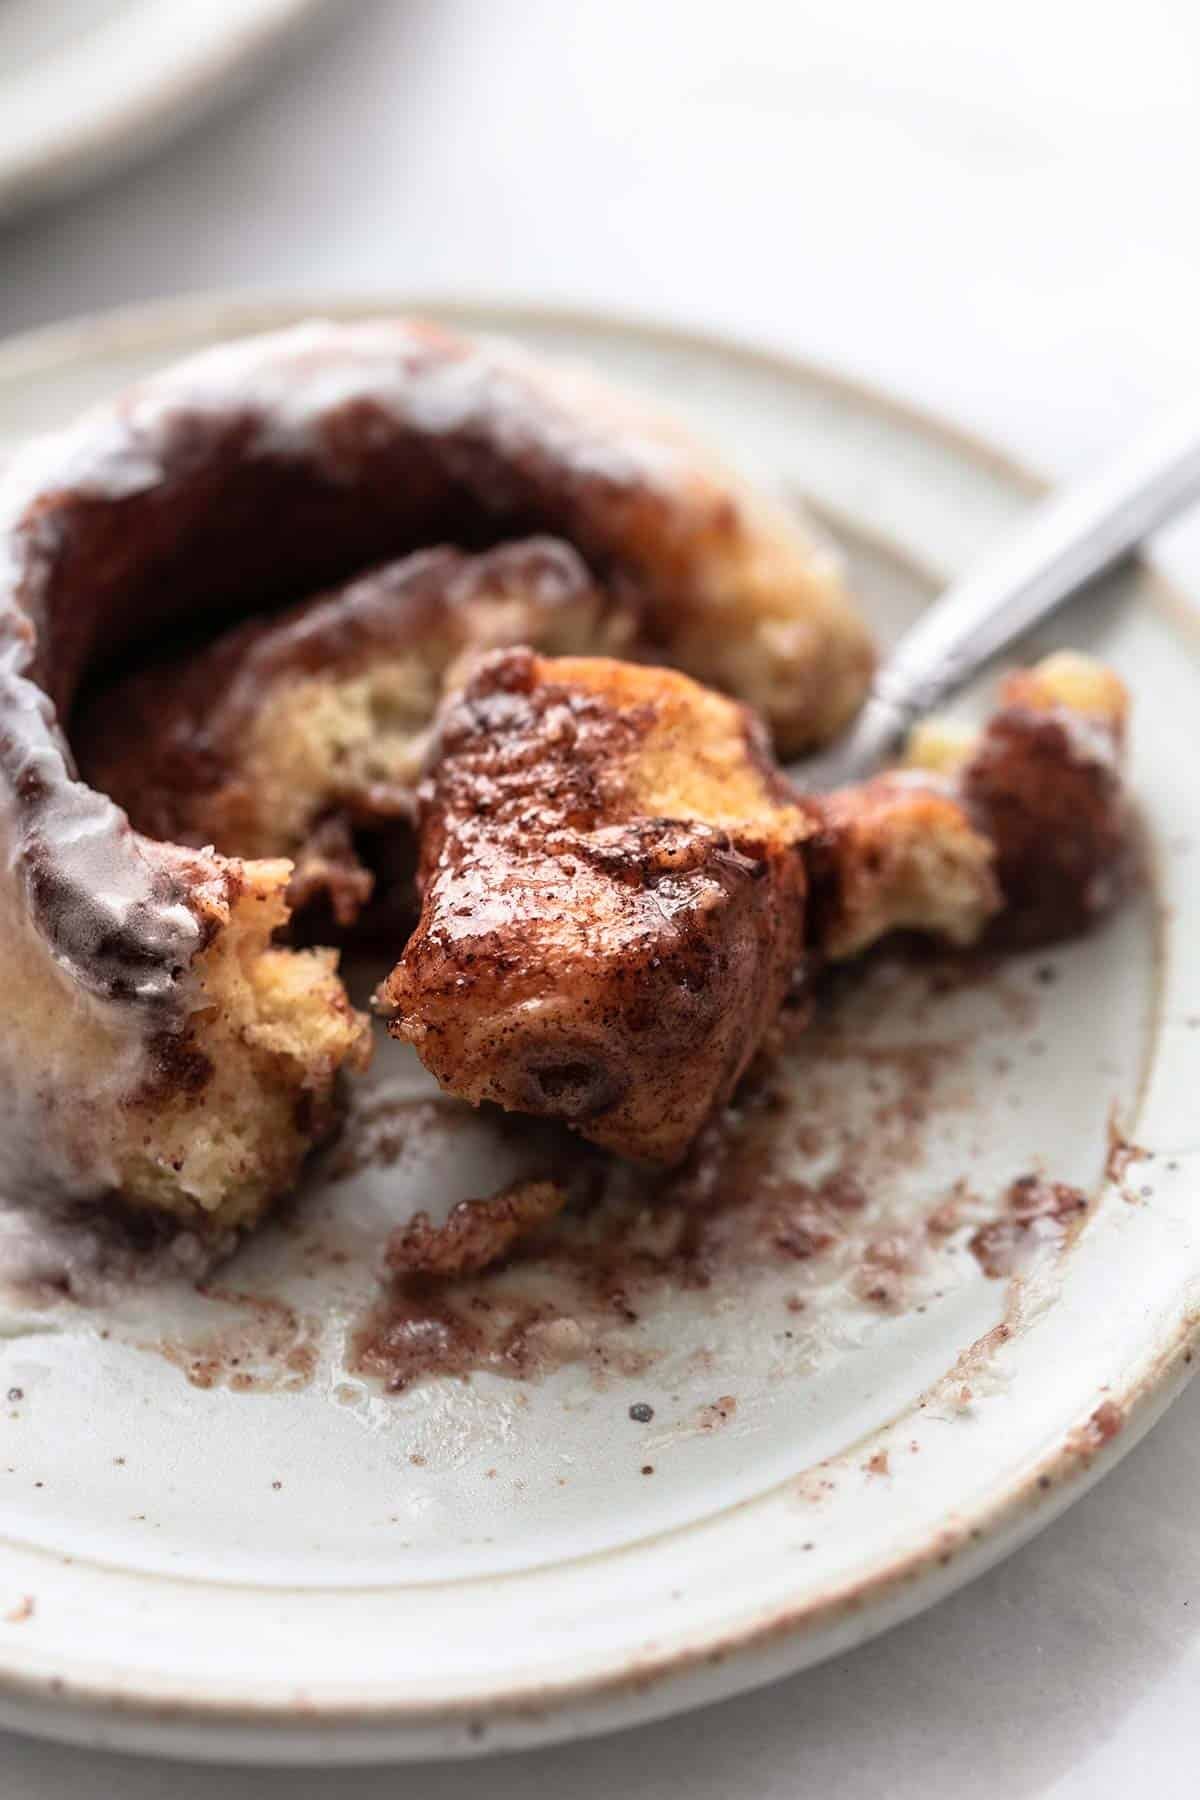
Did you make this Quick and Easy No Yeast Cinnamon Rolls recipe? YAY! Please rate the recipe below!
Quick & Easy No Yeast Cinnamon Rolls
Ingredients
- ¾ cup light brown sugar
- ¼ cup sugar
- 1 tablespoon cinnamon
- ½ teaspoon vanilla
- ⅛ teaspoon salt
- 2 tablespoons butter - softened
- optional: 1/2 cup raisins
Dough
- 2 ½ cups flour
- 2 tablespoons sugar
- 1 ¼ teaspoons baking powder
- ½ teaspoon baking soda
- ½ teaspoon salt
- 1 cup buttermilk
- ¼ cup milk
- 4 tablespoons melted butter - divided
- 2 tablespoons butter - softened
Frosting
- 3 tablespoons butter - softened
- 3 ounces cream cheese
- 1 cup powdered sugar
- ¼ cup milk
- ½ teaspoon vanilla or almond extract
Instructions
- Preheat oven to 425. Use 1 tablespoon softened butter to grease the bottom and sides of a 9 inch cake pan. Set aide.
- In a medium bowl combine sugar, brown sugar, cinnamon, salt and add in the vanilla and cut in the butter with a fork or your hands until well combined. Set that aside as well.
- In a large bowl whisk together flour, sugar, baking powder, baking soda, and salt. Using a liquid measuring cup, measure 1 cup of buttermilk, add 1/4 cup other milk (I used 1%) and then whisk in 2 Tbs melted butter. Mix buttermilk mixture into dry ingredients until just combined, then knead with well-floured hands for about 30 seconds, sprinkling in a little extra flour as needed if dough is too sticky to work with.
- Generously flour a clean work surface. Roll (or press with fingertips) dough into a 12×10 inch rectangle. (does not have to be exact). Brush 2 tablespoons softened butter onto the entire surface of the dough. Sprinkle brown sugar filling evenly onto dough coming to about 1/2 inch of edges.
- Lightly press filling into dough. If including optional raisins, now sprinkle them on top of the dough. Starting with the long end of the rectangle, roll the dough to the opposite end. Pinch to seal along the length of the rolls to seal the filling in. Pinch the ends together and cut off the excess, about 1/2 inch. Cut the dough into 8 equal sections.
- Place one roll in the middle of the buttered cake pan and then place the remaining seven rolls evenly around the first. Brush the tops with remaining 2 Tbs melted butter.
- Place rolls in the oven and allow to bake at 425 for about 15 minutes, then reduce temperature to 350 and allow to bake about 10 more minutes, until edges begin to lightly brown. (I like mine a little more doughy so I pulled them out a little early.)
- While rolls are baking, prepare the frosting. Using a hand mixer, beat softened butter and cream cheese until light and creamy. Add in powdered sugar, vanilla, and milk. Mix until well combined. When rolls are finished baking, allow to cool 5-10 minutes before spreading the frosting on. Store in airtight container for 2 days or serve immediately.
Notes
Nutrition
Recipe originally posted July 2013, updated April 2020 with new photos, new post wording, and some clarification in directions.
More Tasty Recipes Like This
- Vanilla Cinnamon Caramels
- Salted Caramel Shortbread
- Peppermint Meltaway Cookies
- Christmas Fudge
- One Hour Buttermilk Dinner Rolls
- Pumpkin Cinnamon Rolls
- Apple Pie Cinnamon Rolls


Hey, I was wondering if these could be made the night before and refrigerated and baked the next morning? I want to try and make them for breakfast Christmas morning, but don’t want to have to “cook” and “put it all together” on the same day! Thanks so much!
I was wondering the same thing!
These look soooo amazing! I’ve been craving cinnamon rolls and didn’t have any yeast in hand so these looked perfect to try. I just put them in the oven and I had the worst time with the dough. You said it would be sticky but my dough was downright gooey. It made it impossible to roll well though I did my best. It’ll be more of a cinnamon roll bake than rolls, I think. 🙂 I’ve been over the ingredients several times and wondered what I could have missed but didn’t see anything wrong. The only thing I did differently was that I used buttermilk powder (and added the water to the milk). Could this have made that much of a difference? I’ll let you know how it turns out when I pull them out. I don’t imagine it’ll change the taste a whole lot so I’m still looking forward to them.
These are AMAZING! I baked them for my family and everyone loved them. I am only 15 and I could make them, so I’m sure anyone can! Thanks for sharing the recipe!
Hi, this recipe Sounds amazing! I’m gonna try Them for christmas morning 🙂 just Wondering if there’s a way to Make them ahead, And keep the dough refrigerated until christmas morning So that I can just pop in The oven and Bake It? Thanks again!
Hi Sarah- I haven’t tested that with this recipe but I think it should work!
These were a great Easyer morning breakfast! I Prepped them the night before, REFRIGERATED them & they bAked perfectly in the morning. We didn’t do the frosting & they were still fantastic. Thanks fOr the easy No yeast easy recipE
I am so happy to hear you loved these! And thank you for sharing the feedback on having success with chilling them and baking the next day – a great tip!! Happy Easter! 🙂
Do you think it work out if I halved this recipe? Want to make 4 rolls first for now since there’s only 2 in our family. .or maybe freezing the dough before buttering and baking? Looks wonderful btw!
Hi V, I haven’t tried halving the recipe but I bet it would work! Otherwise you could make the whole batch and then wrap the leftover rolls in plastic wrap and freeze them. Then just pop them in the microwave for a minute or two when you want to eat them!
These look really lovely! Do you think they could be done without the baking soda though? I don’t have any in the house and would love to make these in the morning to celebrate the last day of school. Cheers!
Victoria
Hi Victoria! I really can’t say how they’d come out without the baking soda because I’ve never tried it… so sorry I can’t be more helpful with that idea!